

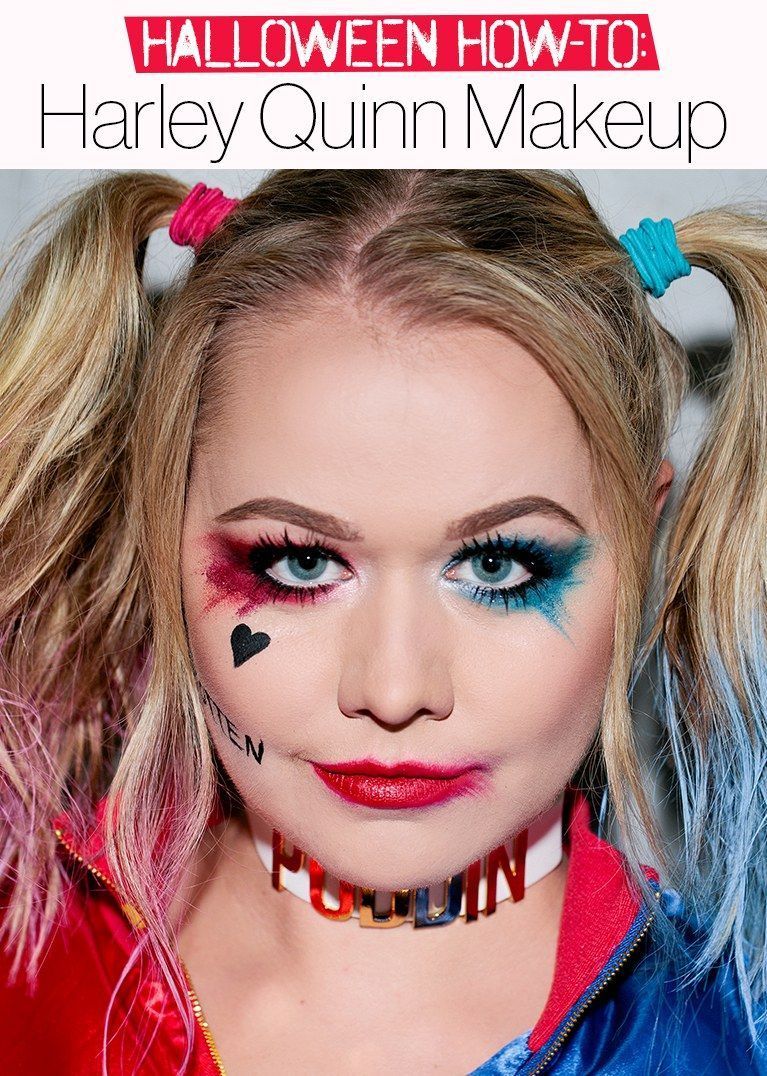
Here’s Exactly How to Do Your Makeup Like Harley Quinn
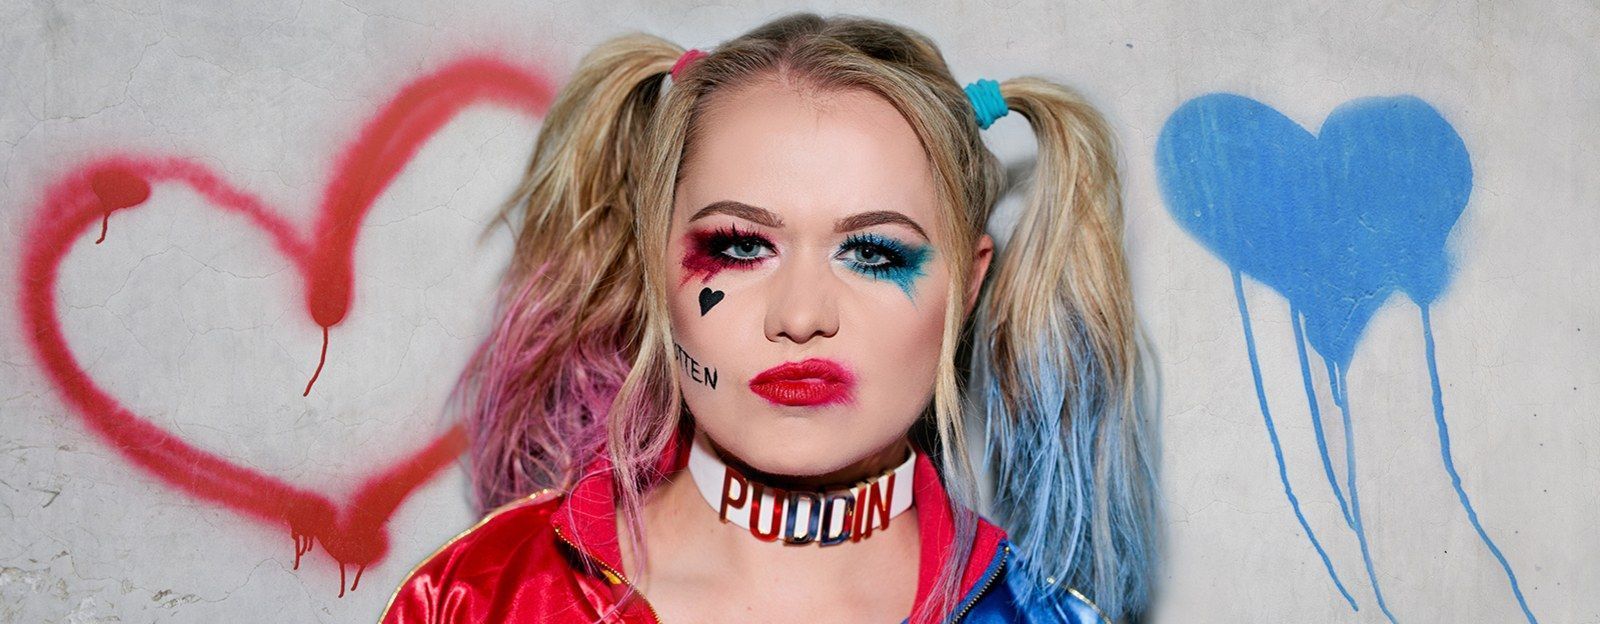
So, you want to go as Harley Quinn this Halloween? Good. Ignore the haters. I say Harley Quinn is one of the most-Googled Halloween costumes of the year for a reason, people. Not only is Harley’s hair and makeup so cool it hurts, her attitude is everything. Is going as Harley basic? Probably. But so what? Own your pumpkin spice of costumes this year and go wild shouting, “Hey, puddin!” to everyone you encounter. Wear that red and blue eyeshadow with pride.
So with that in mind, we teamed up with Make Up For Ever Director of Education and Artistry Lijha Stewart (also known as the “Queen of Halloween”) to help you reach peak Harley Quinn. Read on for the full step-by-step tutorial.
Level of difficulty: Super easy. If you can smudge on some makeup and throw your hair into pigtails second-grade-style, you’ll be able to do this no problem.
Amount of time required: One hour, max.
What you’ll need:
-Your favorite matte foundation
-A contour stick
-Matte, loose powder
-Highlighter
-A rosy blush
-Your brow weapon of choice
-Red and blue eyeshadow
-Black and white eyeliner pencils
-Red and blue eye glitter (optional)
-Scotch tape (optional)
-False eyelashes (optional)
-Red lipstick
-Cotton swabs
-Black liquid eyeliner
-Red and blue hair chalk or hair paint
Now, let’s get your Harley on…
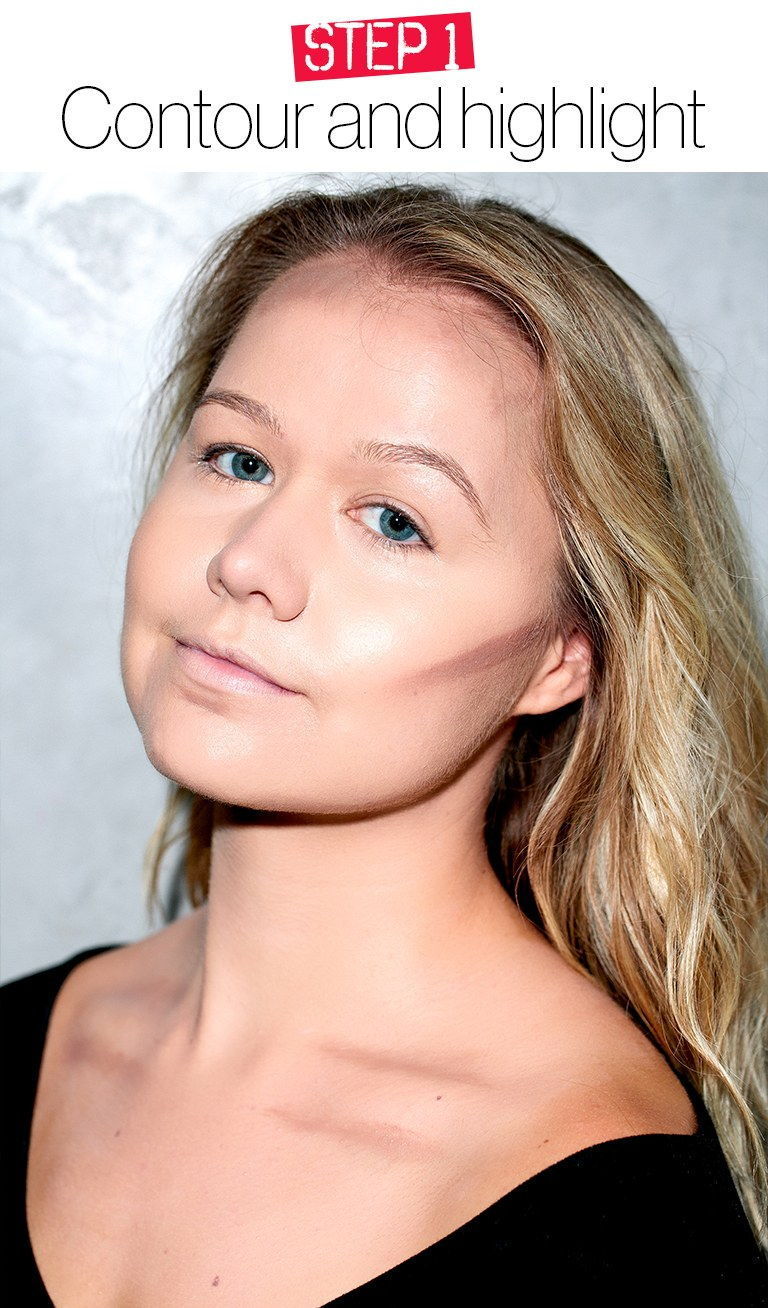
Even though Harley’s skin is really pale in the movie, to make it more life-like and wearable, we contoured in a few key areas. Swipe a sculpting stick down your cheekbones, at your hairline, underneath your lips, and on your collar bones. Blend it out with your fingers or a buffing brush.
In an effort to still capture that angsty, washed-out look, set everything with a matte, loose powder and keep the highlighting to a strategic minimum, placing it only in certain places like underneath your brow bone and in the inner corner of your eyes.
Our favorite contouring kits: Make Up For Ever Pro Sculpting Palette, $45; E.l.f. Contour Palette, $6
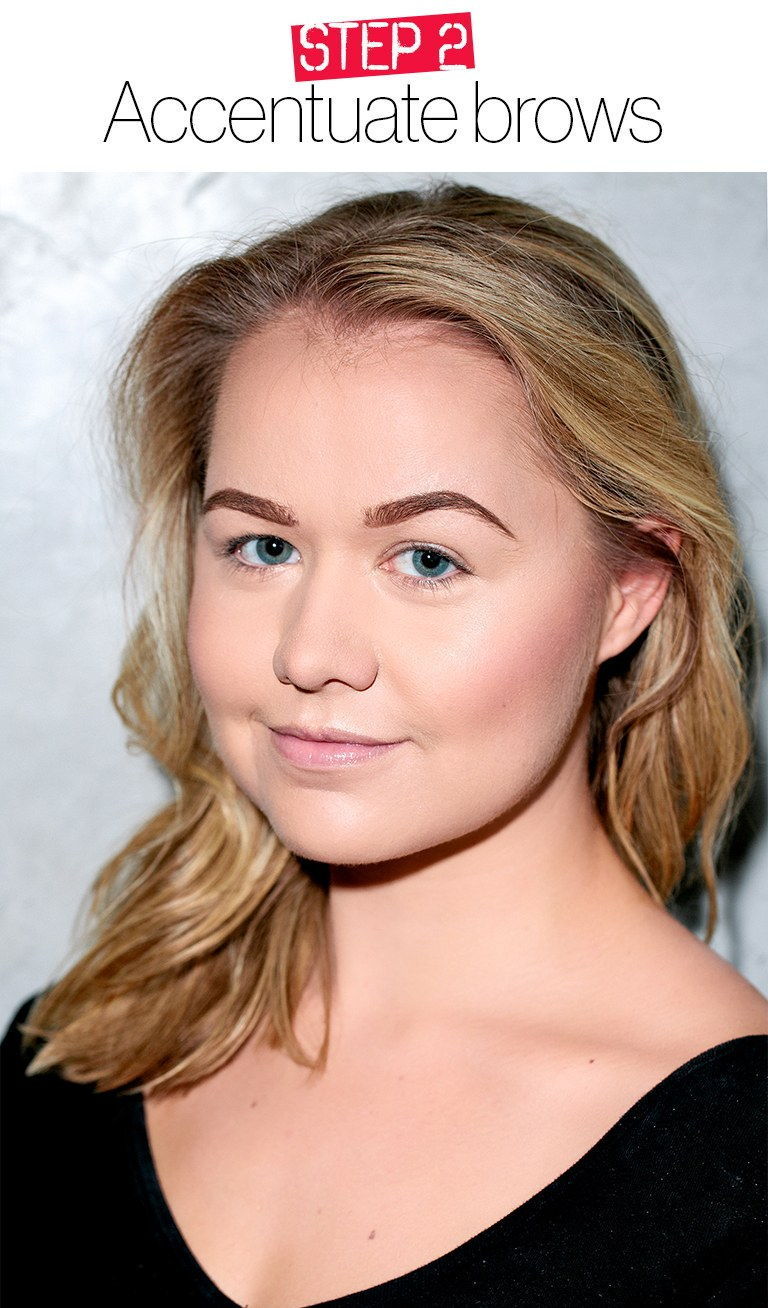
For light or scarce brows, “It’s best to start with a brow wax so that any color you put on after sticks,” says Stewart. With a spoolie brush, apply a light coating of the wax and brush hairs upward and outward. Then, with an angled brush, apply your desired shade in light strokes.
Our favorite brow products: Benefit Cosmetics Goof Proof Brow Pencil, $24; Maybelline Eye Studio Brow Drama Sculpting Brow Mascara, $7
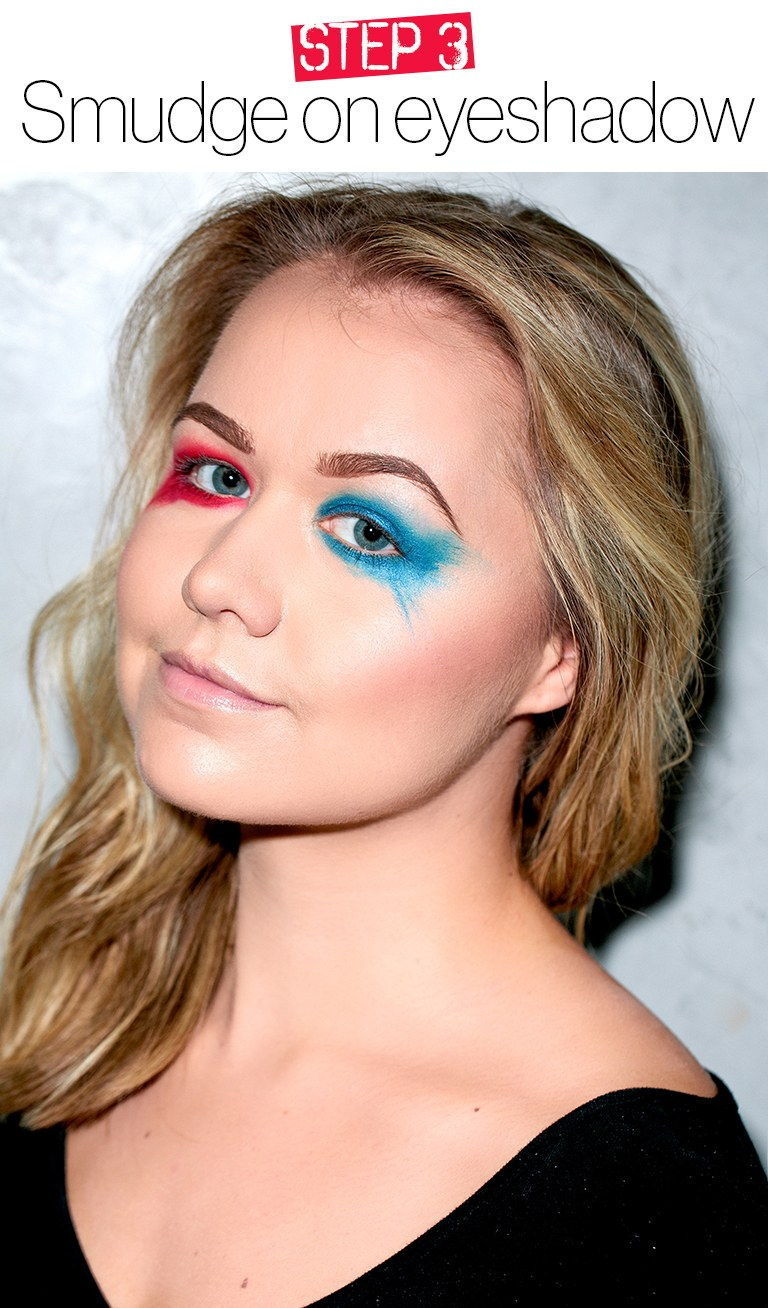
The trick to getting eyes like Harley’s isn’t in how you smudge your shadow—it’s about the pigment you use. While regular shadows are great and can sometimes offer intense color payoff, it’s best to opt for a cream here. You can literally smudge it on with your fingers if you’d like, but laying it on with a medium-size eyeshadow brush will do just fine. To get that splattered effect, take whatever color is left on your brush from the initial application and drag it outward and downward. Oh, and don’t forget to use two different brushes for your red and blue. Mixing them will make both colors muddy—not the look you’re aiming for here.
When you’re done creating your shape, layer matching eyeshadow over your base to set the look. You might also find it easier to blend any harsh smudges out with your powder shadows.
Our blue and red eyeshadow picks: Make Up For Ever Aqua Cream Shadow in Red and Blue, $23 each; NYX Jumbo Eye Pencil in Rust and Peacock, $4.50 each

To add some dimension to your eyes, line them with a thin coat of black eyeliner and smoke out the edges to create a sultry effect. Then pick up a tiny amount of black shadow and wiggle a blending brush in the outer corner. To top it off, add white pencil to your waterline for a doll-like effect.
The best black eye makeup products: Make Up For Ever Aqua XL Pencil in M-10, $21; L’Oréal Paris Infallible Eyeshadow in Eternal Black, $8
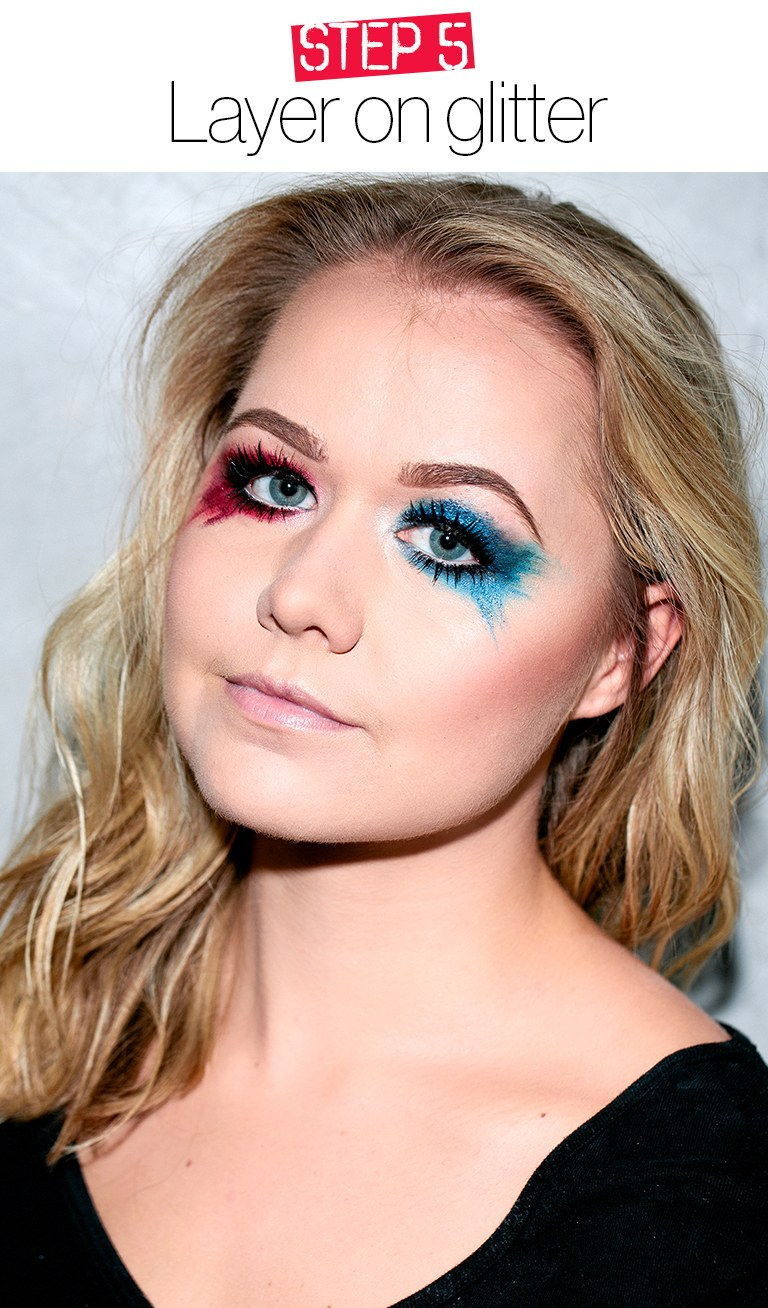
Now, for the messy but most fun part: Glitter! Once you have your blue and red pigments handy, first and foremost, wet a flat shadow brush. You’ll want to do this each time before dipping it in the glitter so there’s minimal fallout. When applying your glitter, take your time and keep wetting your brush. Pat it on gently and follow the shape you already made with your eyeshadow—no need to get creative here. Pro tip: If any flecks fall out of place, clean them up using Scotch tape.
When you’re satisfied with the level of sparkle you’ve achieved, apply mascara and (optional) add lashes. (Our cheat sheet on applying falsies, here.)
Glitter we’re obsessed with: Make Up For Ever Glitter in Red and Blue, $15 each; Obsessive Compulsive Cosmetics Cosmetic Glitter in Red and Blue, $15 each
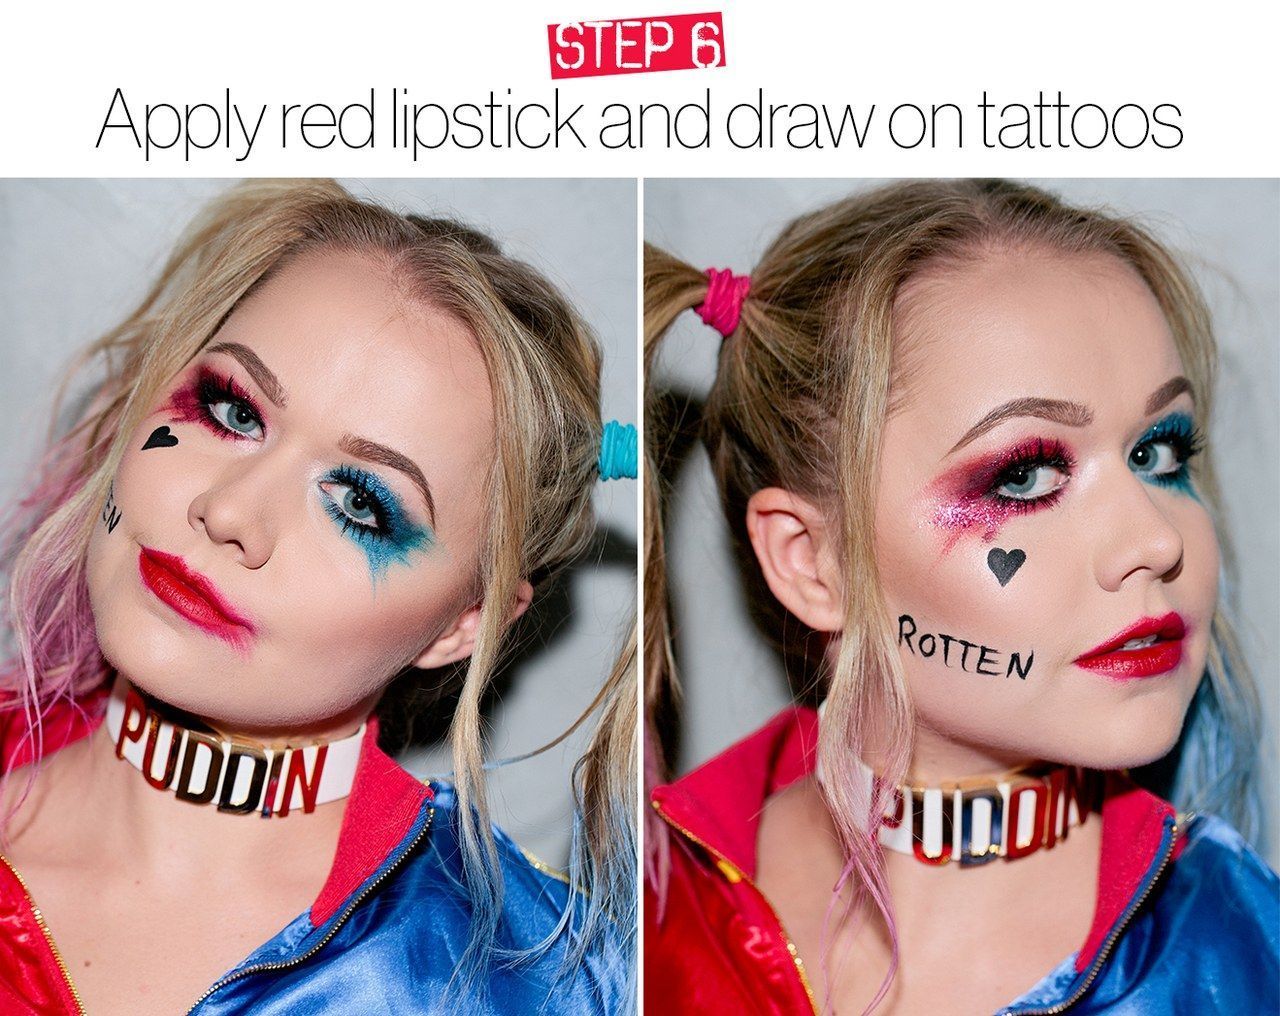
Almost done! When choosing your red lipstick, opt for a creamy, cherry red that will move around easily. Apply it like normal, then take your finger or a small shadow brush to sweep the color on the lower bottom lip downward. Then blot. Apply another layer of red on top for shine as desired.
Now, for the tattoos. Because of its intensity and easy-to-use applicator, a black felt-tipped eyeliner works best when drawing on shapes and words. Draw the outline of a heart underneath your eye, right on the apple of your cheek. Don’t worry if you mess up—just make sure to have a cotton swab and concealer handy to clean up wonky edges.
For the “Rotten” tattoo, we advise having a friend write it on, simply because doing it on yourself in a mirror means it’ll show up backwards. (Remember Karen’s rhinestone “K” in Mean Girls? Yeah, that’s what happens when you try to write stuff in a mirror.)
Red lipstick picks: Make Up For Ever Artist Rouge Lipstick in M300, $22; Pixi Mattelustre Lipstick in Classic Red, $12
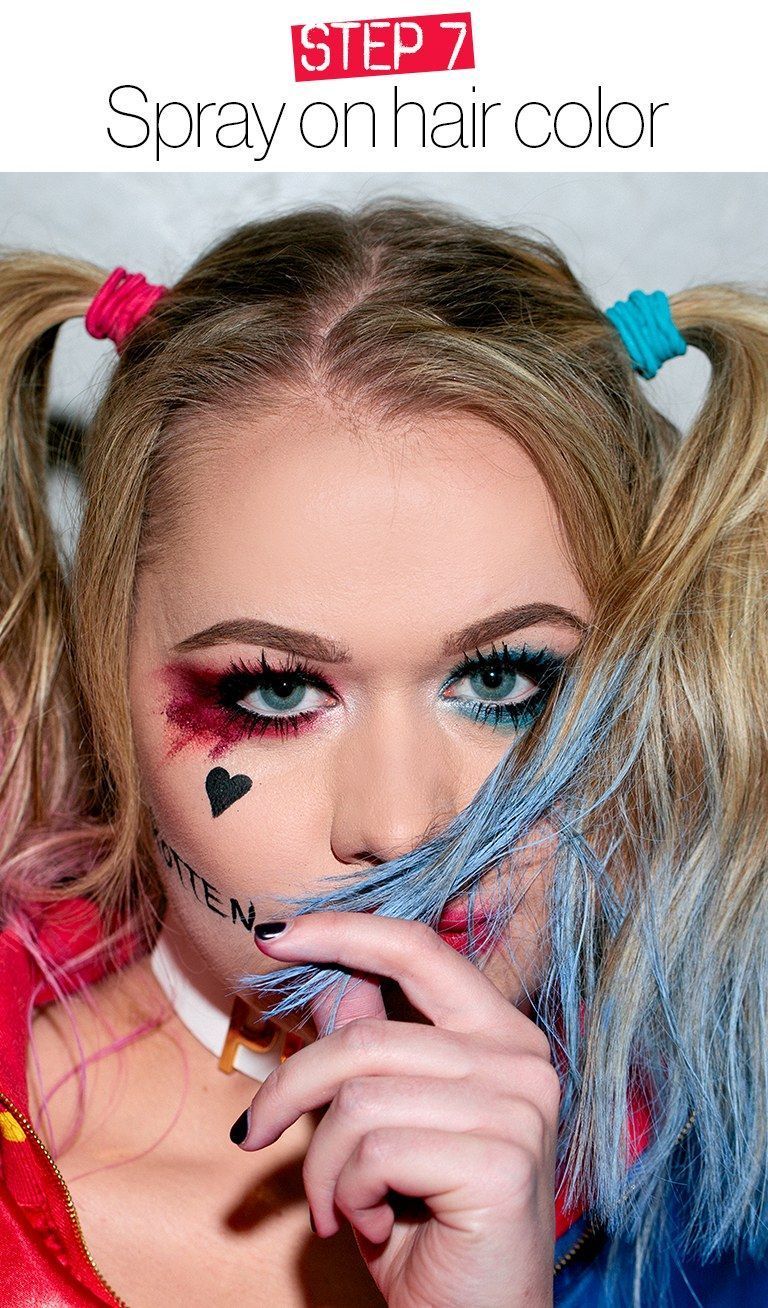
Last but not least: Those classic Harley Quinn pigtails. If you don’t have blond hair, there are tons of Harley Quinn wigs out there you can use. But if you’ve got blond hair already, it’s a cinch to DIY. And there are a few different ways to get the look.
First thing’s first: Put your hair up in pigtails. (Curl them first, if you want them to be extra bouncy.) Then, you can either opt for hair color chalk or hair color spray. Warning: All will be messy, but if you spritz hairspray on top, your color should be set for a few hours. Also, it might be a good idea to wear rubber or plastic disposable gloves when applying it.
For hair chalk, rub your strands through it until the color is dark enough for you. You might have to do a few rounds before real pigmentation starts to show. As for the hair spray, definitely do this in your bathroom—standing in the shower is optimal. In order not to get hair paint everywhere, have a piece of white paper nearby to tuck behind your head when spritzing.
Temporary hair color options: Sugar Streak Hair Chalk Set, $15; Jerome Russell Bwild Temporary Hair Color Spray in Red and Blue, $5.99 each
Check Out More of Our Halloween Makeup Tutorials
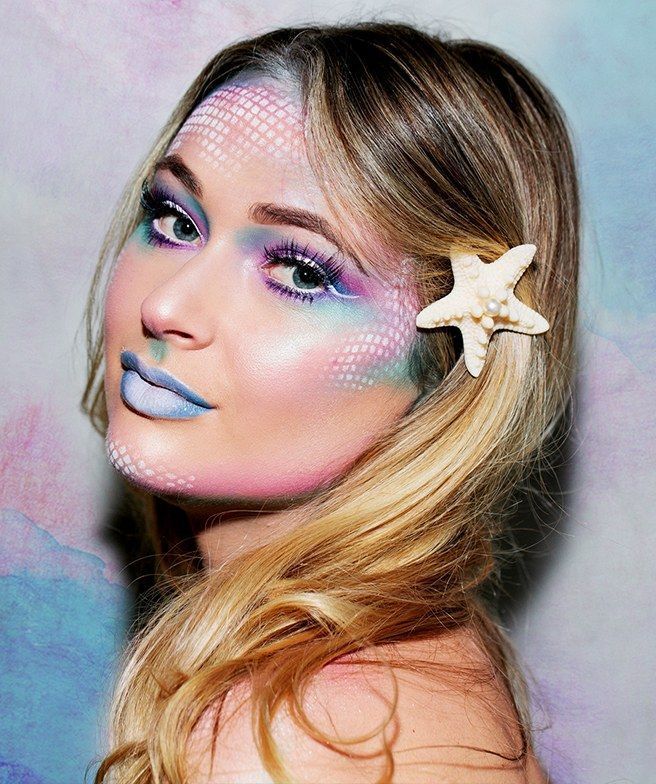
Mermaid
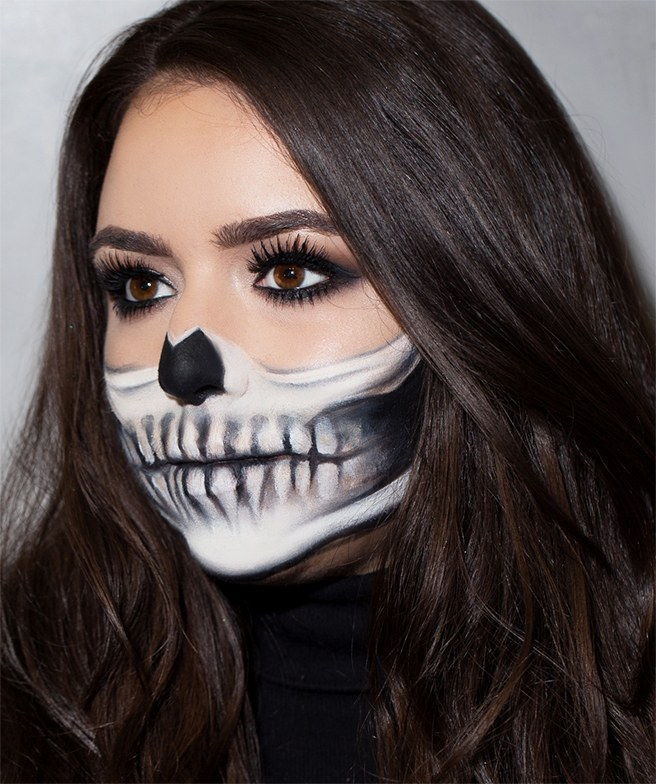
Skeleton