Meet the Braid That’s Being Called the New Fishtail
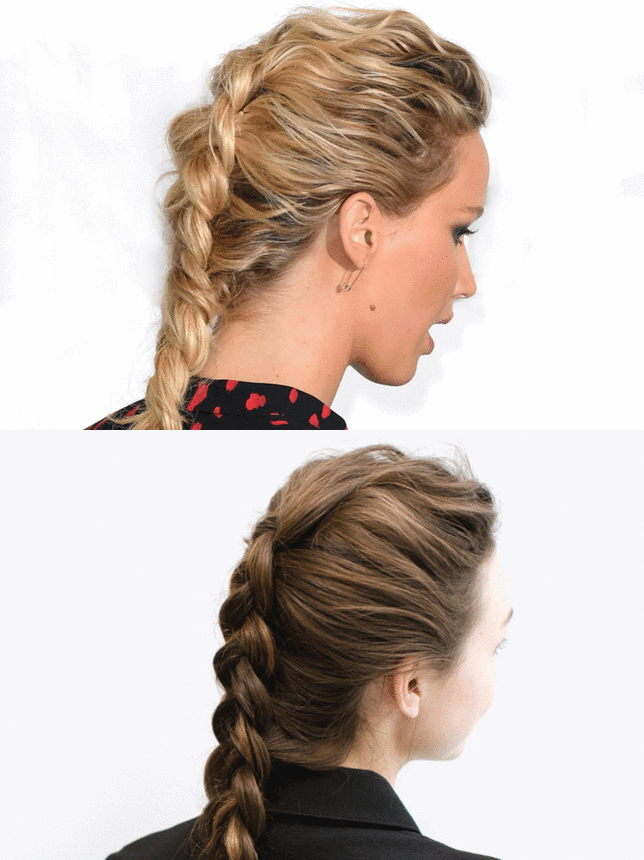
It’s hard to think about braids being particularly trend-driven—after all, the style has been around since the dawn of time—but it’s hard to ignore that they’re having something of a moment, as evidenced by our collective obsession with fishtails, waterfalls and dual French braids. If you’ve already mastered all the above, good news: Thanks to Jennifer Lawrence, a new iteration is gaining steam: the reverse French braid, also known as the Dutch braid.
Slightly less “done” than a traditional French, this style sits on top your hair as opposed to getting woven in, which means it’s slightly easier to create. And after seeing J-Law rock it at 2016’s London premiere of “Passengers,” we’re sold on the idea that the reverse French braid looks just as good with a gown as it would with, say, jeans and a tee.
To show you exactly how to pull it off, we enlisted Suave Professionals Celebrity Stylist Jenny Cho, who happens to be responsible for creating the reverse French braid on Jen herself. Read and learn!
The Inspiration:
Loading
View on Instagram
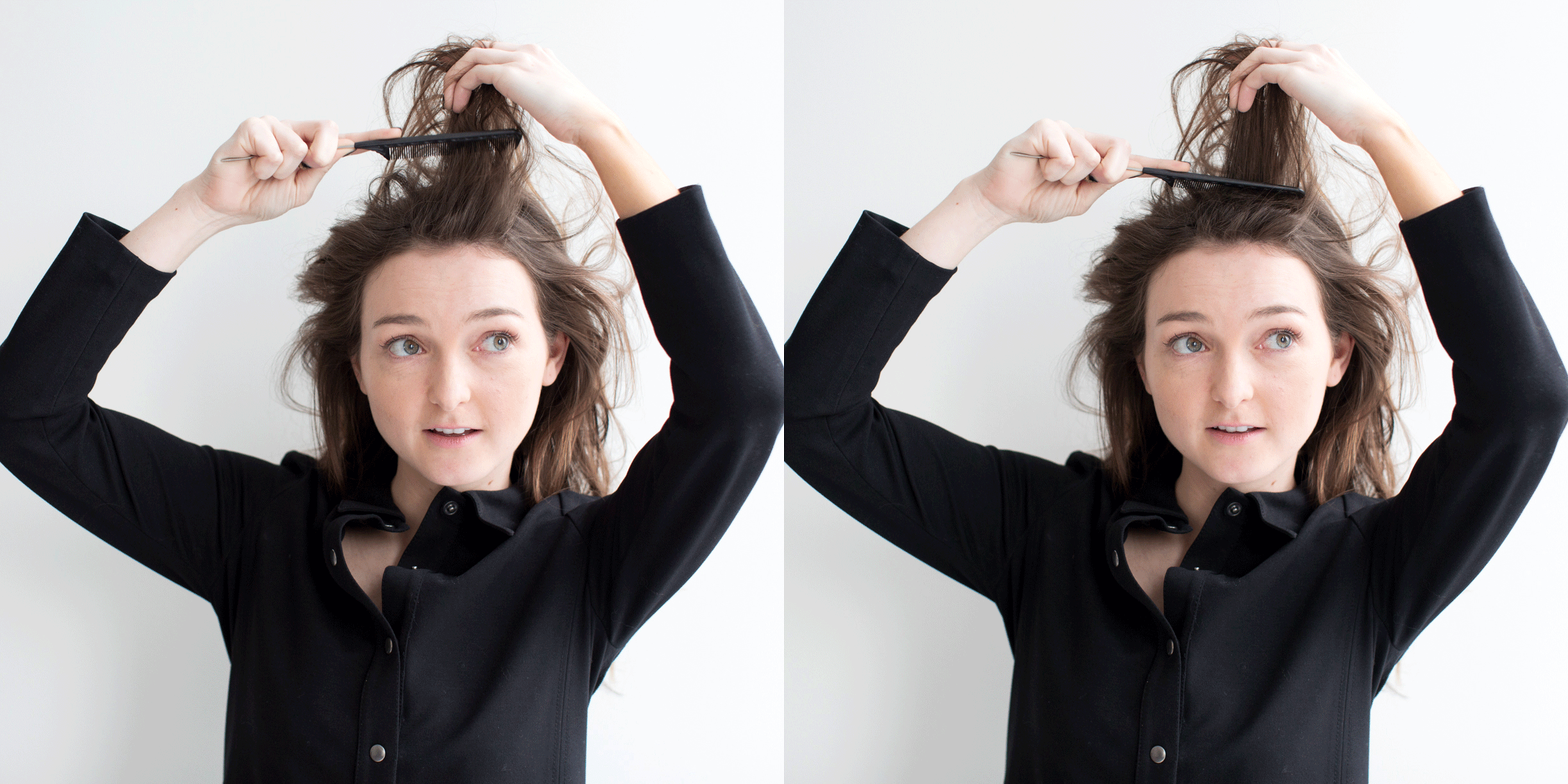
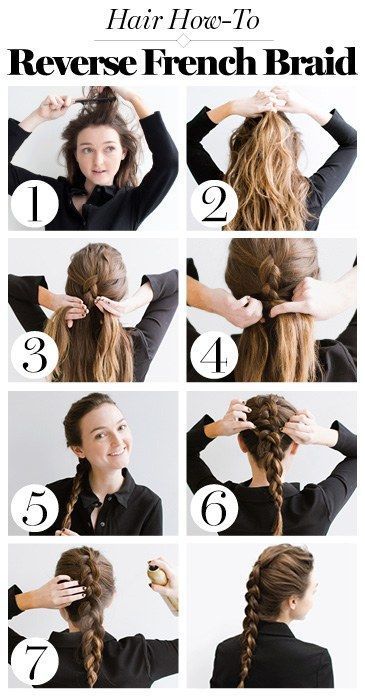
Step 1: The thing that makes this braid so special: texture—and lots of it, Cho says. If you have naturally wavy or curly hair like Lawrence, add mousse and salt spray to damp strands and then diffuse your hair upside down to bring out natural bends. If your hair is straight, you’ll want to use a flat iron or curling iron to add waves. Next, tease your roots with a comb to add lift at the crown.
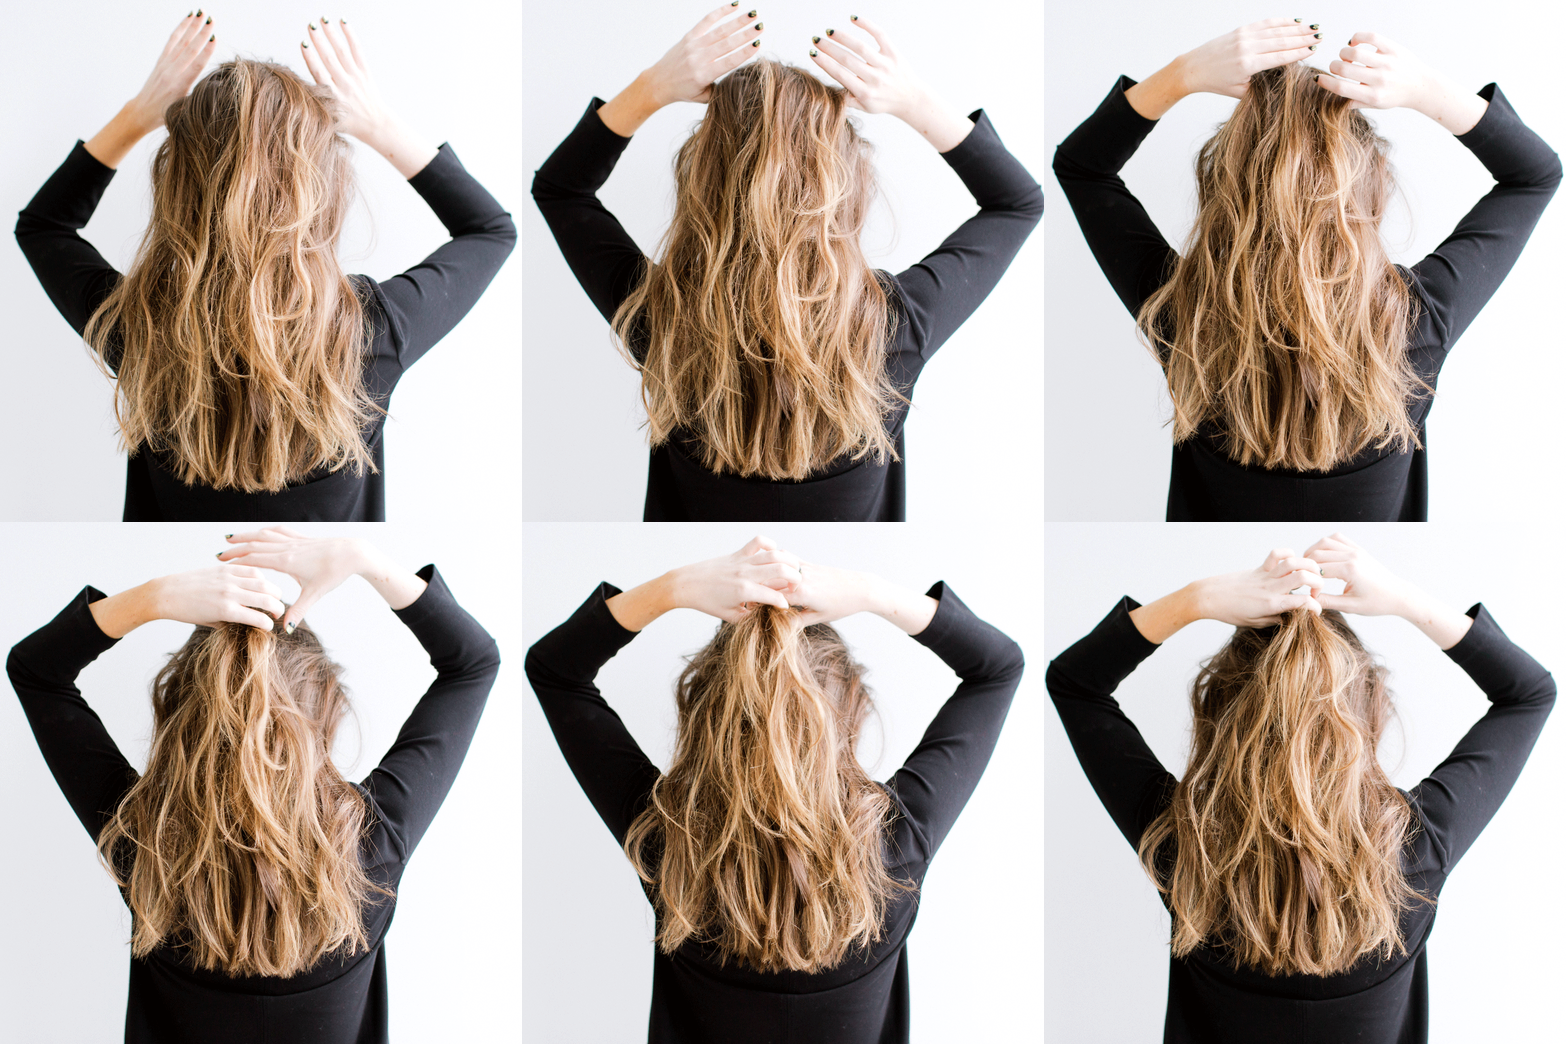
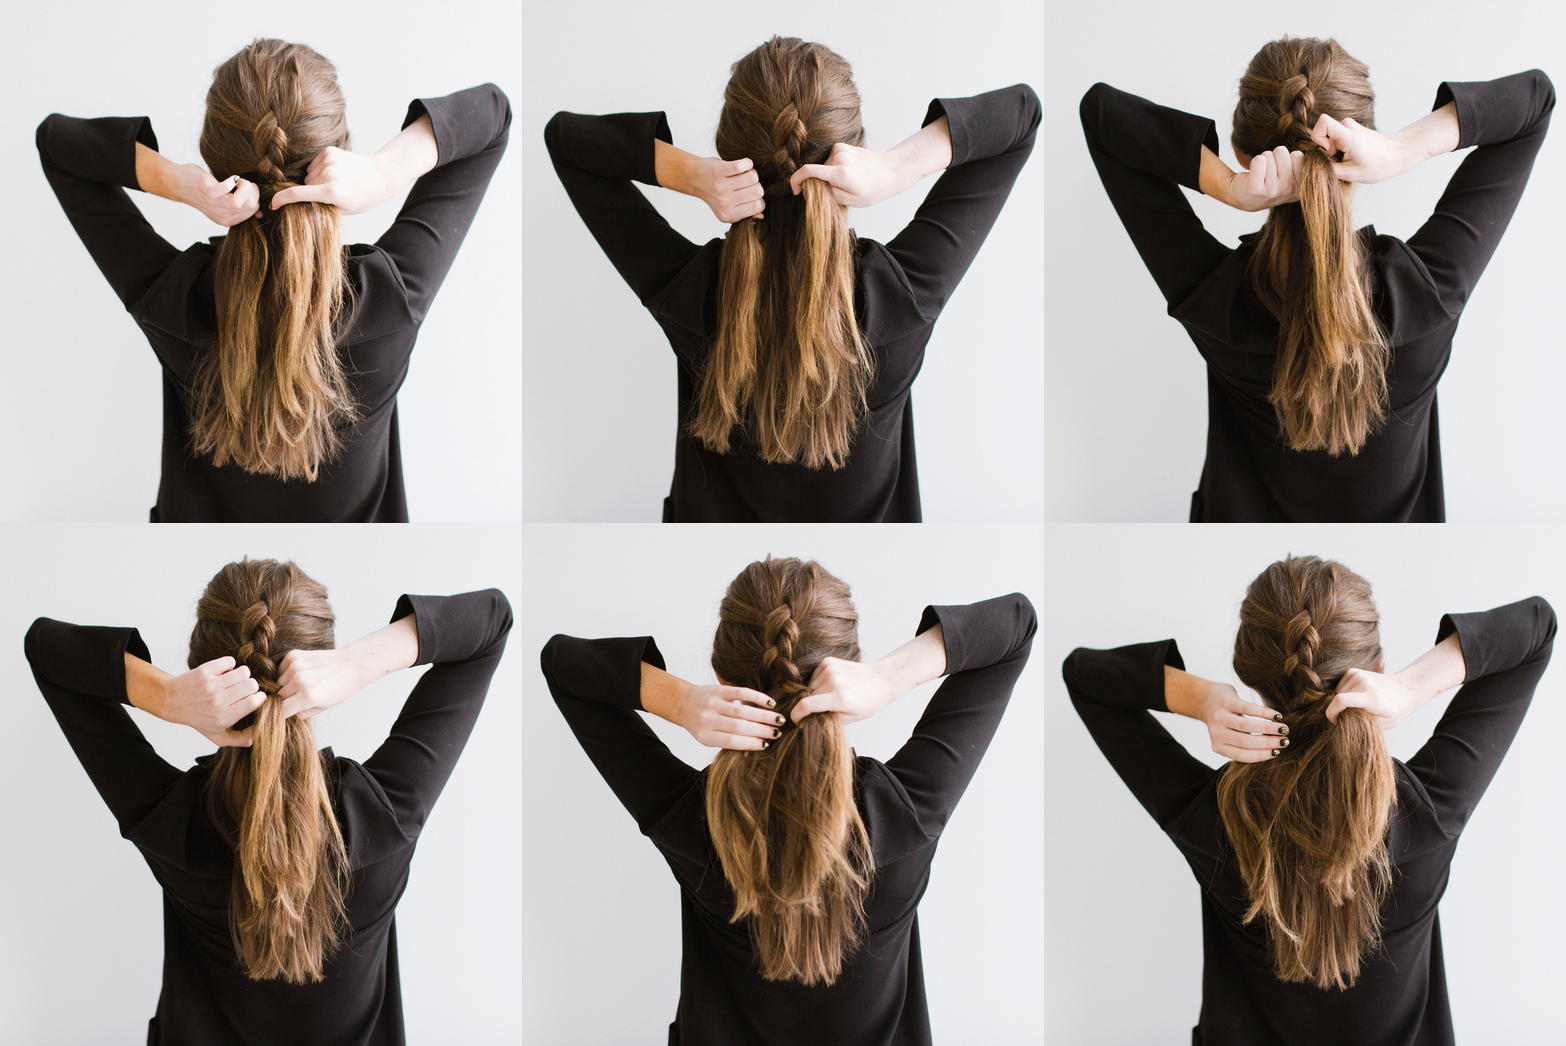
Step 2: Gather your hair from temple to temple and bring it to the center as if you’re pulling your hair into a half-up pony. Separate into three even sections.
Step 3: Begin braiding your hair—instead of weaving each piece over the top, weave the outside pieces under the center section. This creates the inside-out, reverse French braid effect.
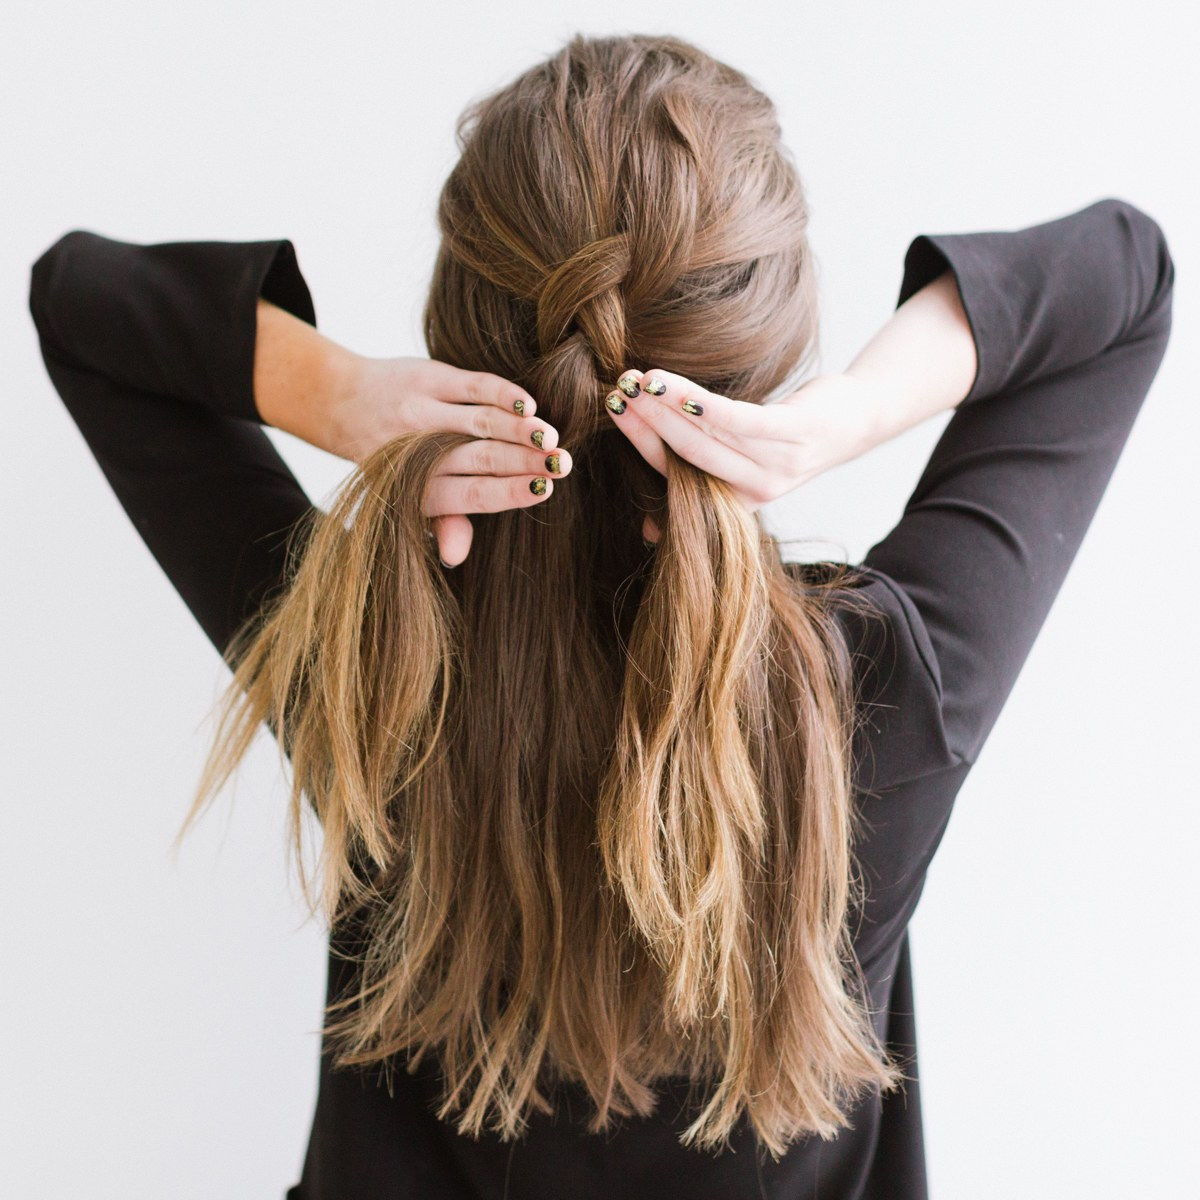
Step 4: Continue the braid down your head by adding a small portion of hair on the sides before weaving each outside piece underneath. Alternate between the left and right sides until you’re at the base of your hair.
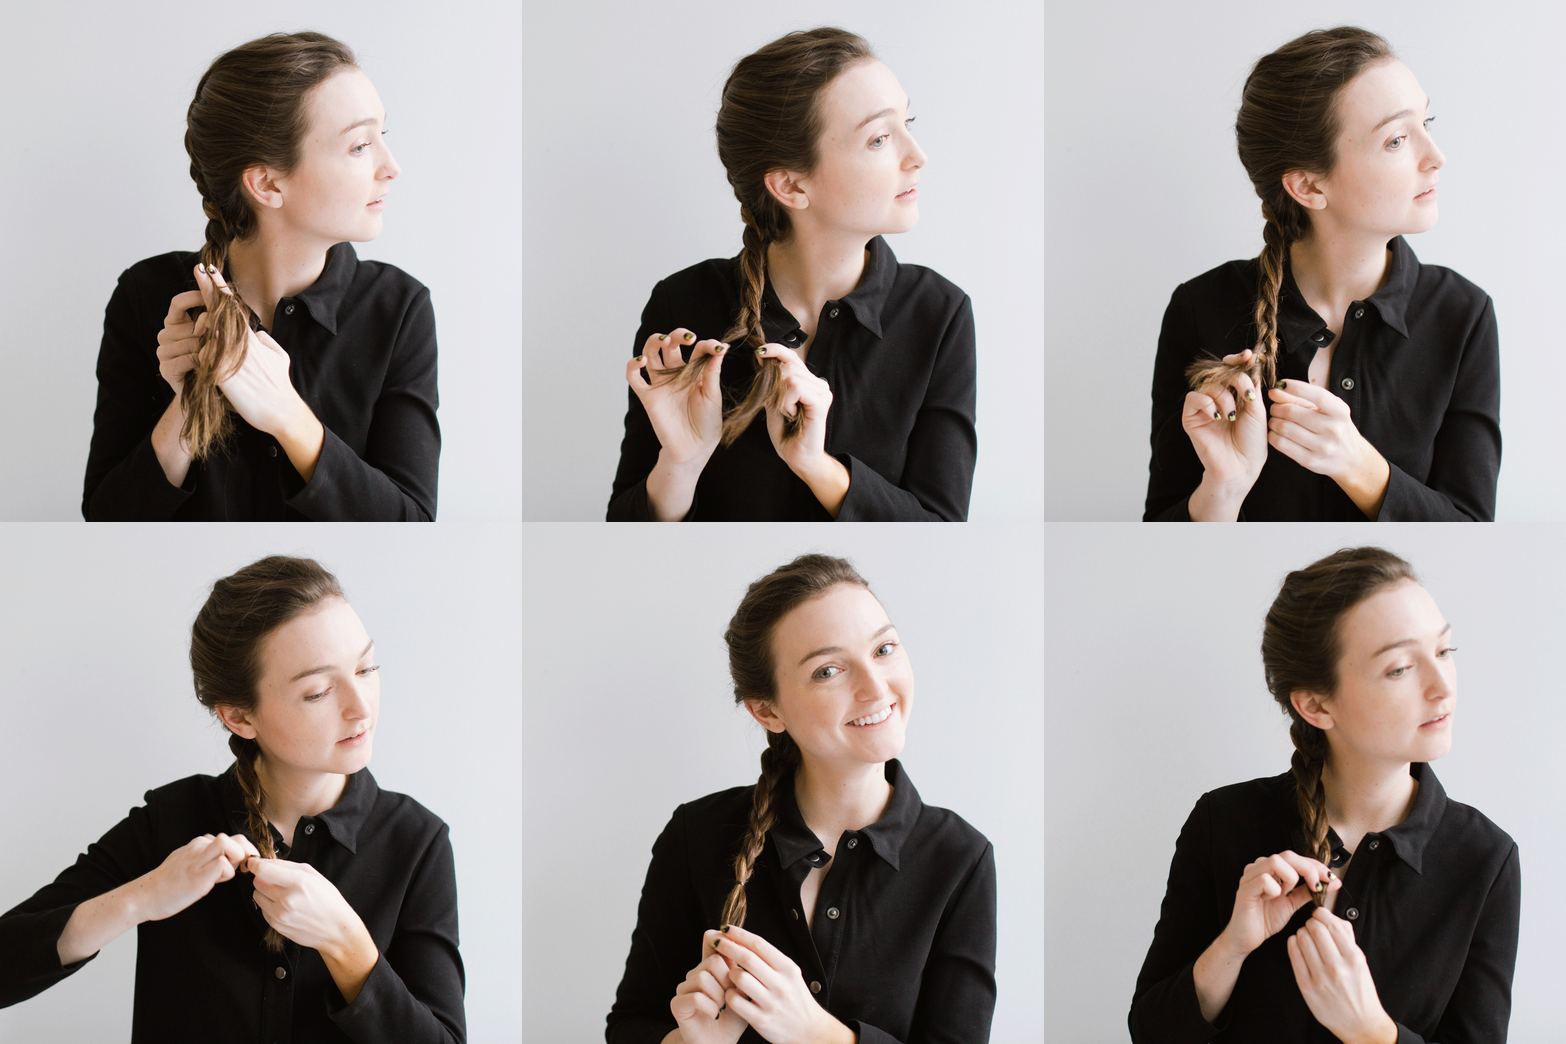
Step 5: Finish by creating a classic three-stand braid for the rest of your hair, then wrap an elastic band around the bottom (if you have brown or black hair, use and dark plastic band; if you have blonde hair, use a clear band).
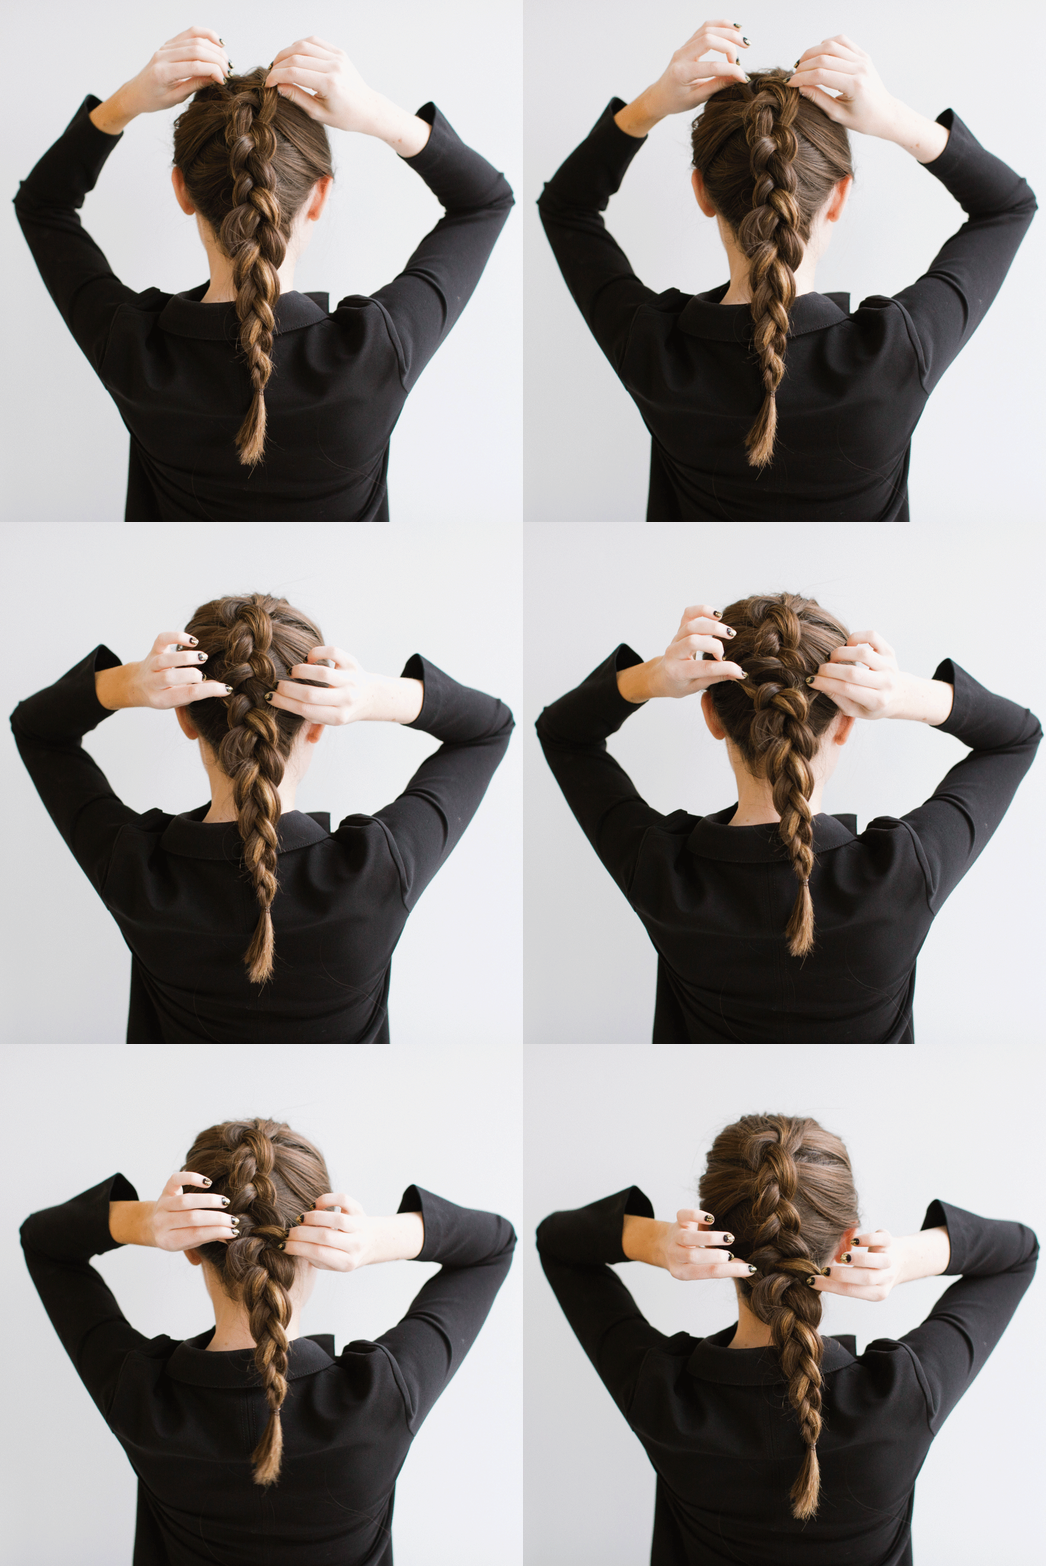
Step 6: Gently pull apart the center plait to give the braid a mussed-up, romantic vibe.
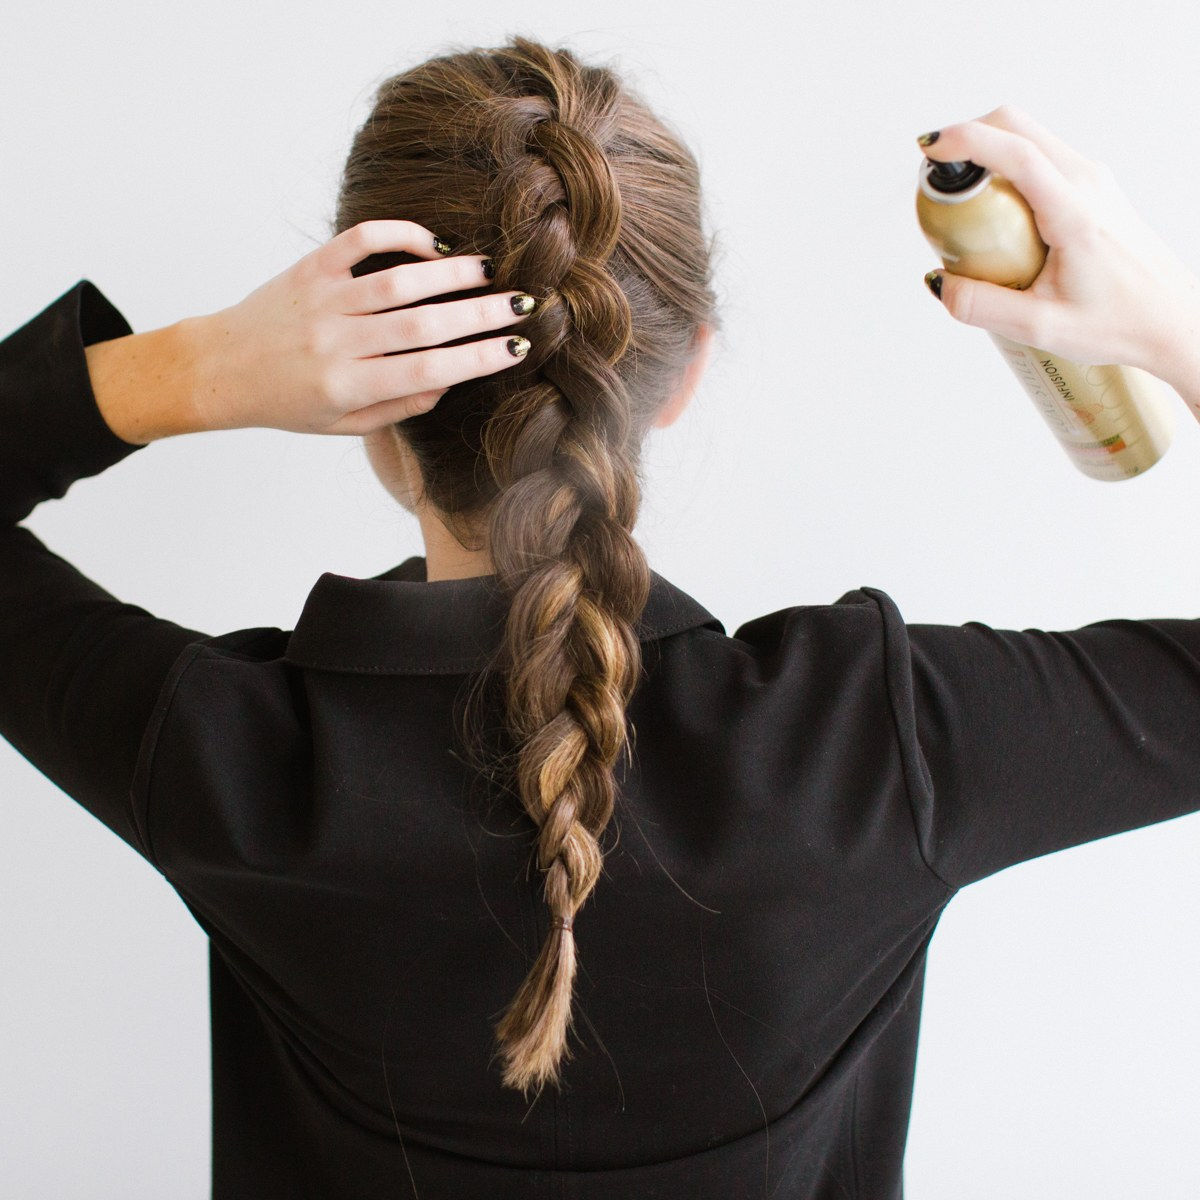
Step 7: Finish with a light-hold hairspray (we like Suave Luxe Style Infusion Plump Hold Hairspray, $5). Done!
Pin for later!
Easy, right? Sure, it might be easier with J-Law’s team on speed dial, but what isn’t?

