

I Tried Puppy Dog Eyeliner—the Cutest Korean Beauty Trend Ever
We never thought we’d be asking ourselves if we’re more dog or cat people when it comes to our beauty routines—until a Korean Beauty beauty tutorial for “puppy eyes” caught our attention. The look is kind of a sweet, K-Beauty alternative to a traditional sexy cat eye, and according to Korean beauty expert and Soko Glam founder Charlotte Cho, the bottom-heavy liner technique is all about making your eyes appear larger and rounder (more doe-like) by following the natural downward slope of your eyes rather than winging them out. But would this look cool IRL, or too cutesy? Beauty assistant and resident “I tried it” expert Jen Mulrow tested it out.
THE STEPS
Step One: After cleansing and moisturizing my face, I evened out my complexion with some base foundation and concealer. Sticking with the K-Beauty theme, I went with Amore Pacific Foundation Cushion, gently patting it on my face from the center outward. I am all about cushion compacts lately—I swear they make you look dewy and poreless. They’re like an amped-up version of a BB cream. Next I brightened up my undereyes and concealed some (annoying) breakouts with Glossier Stretch Concealer in Light.
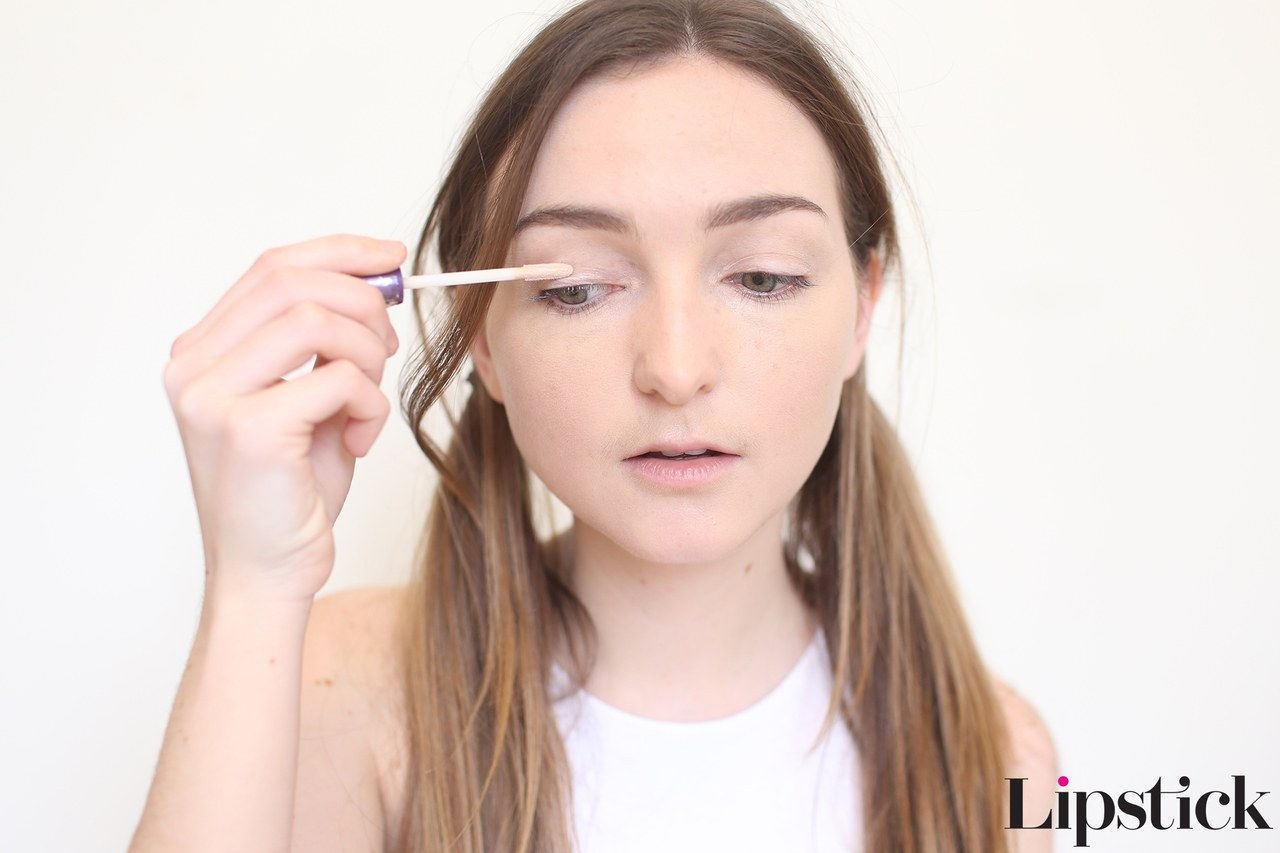
Step Two: Whenever I do an eye-focused makeup look, I always prep my lids with an eyeshadow primer. This helps the product go on smoothly, prevents creasing, and makes the look last all day. Here I swiped on Urban Decay Eyeshadow Primer Potion all over my lids. And whenever I don’t have a primer on me, I’ll use a light shade of a cream eyeshadow instead.
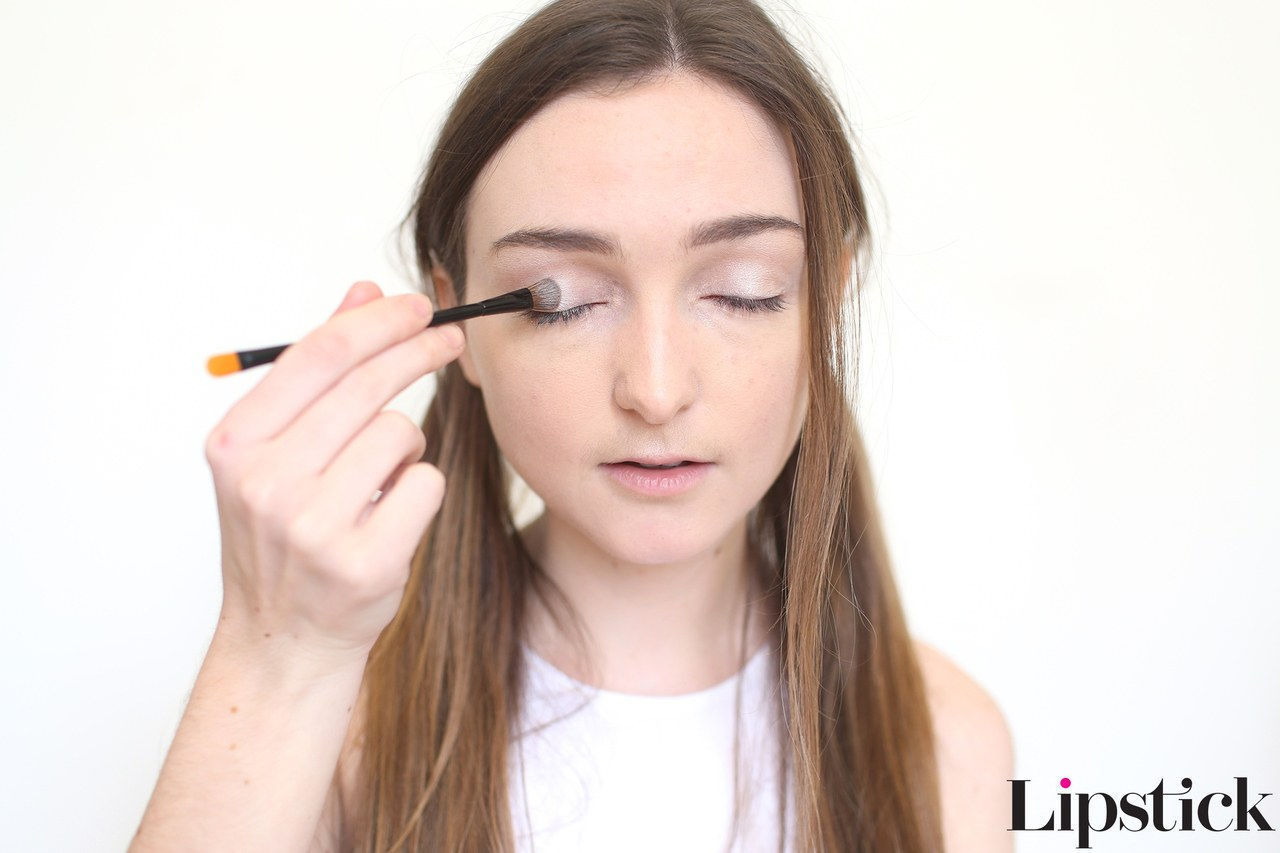
Step Three: Next I grabbed my trusty Urban Decay Naked Palette—my favorite for pretty much any eye look. The eyeshadow palette covers all the bases in terms of flattering shades and finishes, and it has all the options I needed for this look. To start, I applied Virgin, a champagne, shimmery pink, to the center of my lids to give them more dimension. Then I applied this same shade to my brow bones to make my eyes look bigger and brighter.
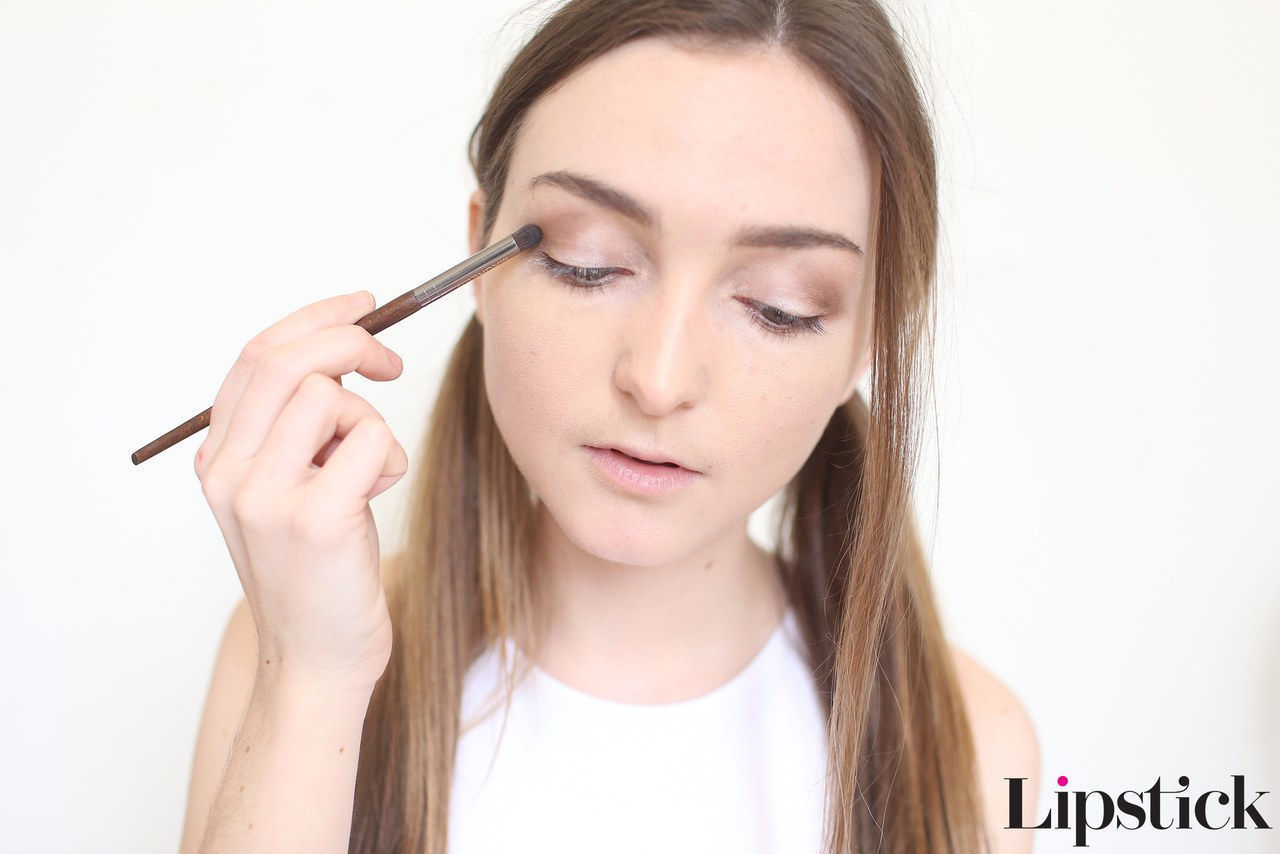
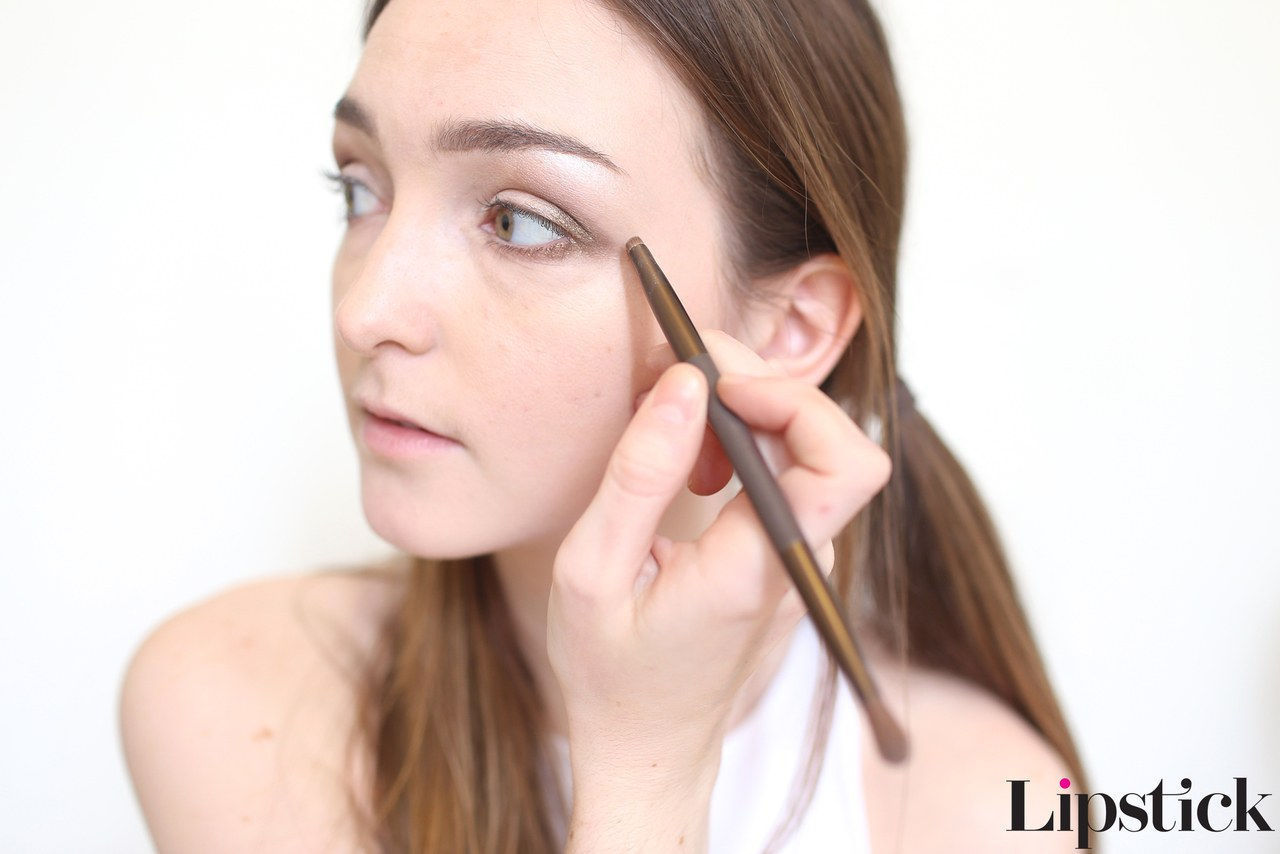
Step Four: Switching to Buck, a light brown matte shade from the same palette, I applied eyeshadow at an upward diagonal angle along the outer contours of my eyes to create the illusion of more depth. I ended the application at a fairly high point near the middle of my brows, which I then blended out well to avoid harsh lines (no one wants that) and keep it all looking soft and natural.
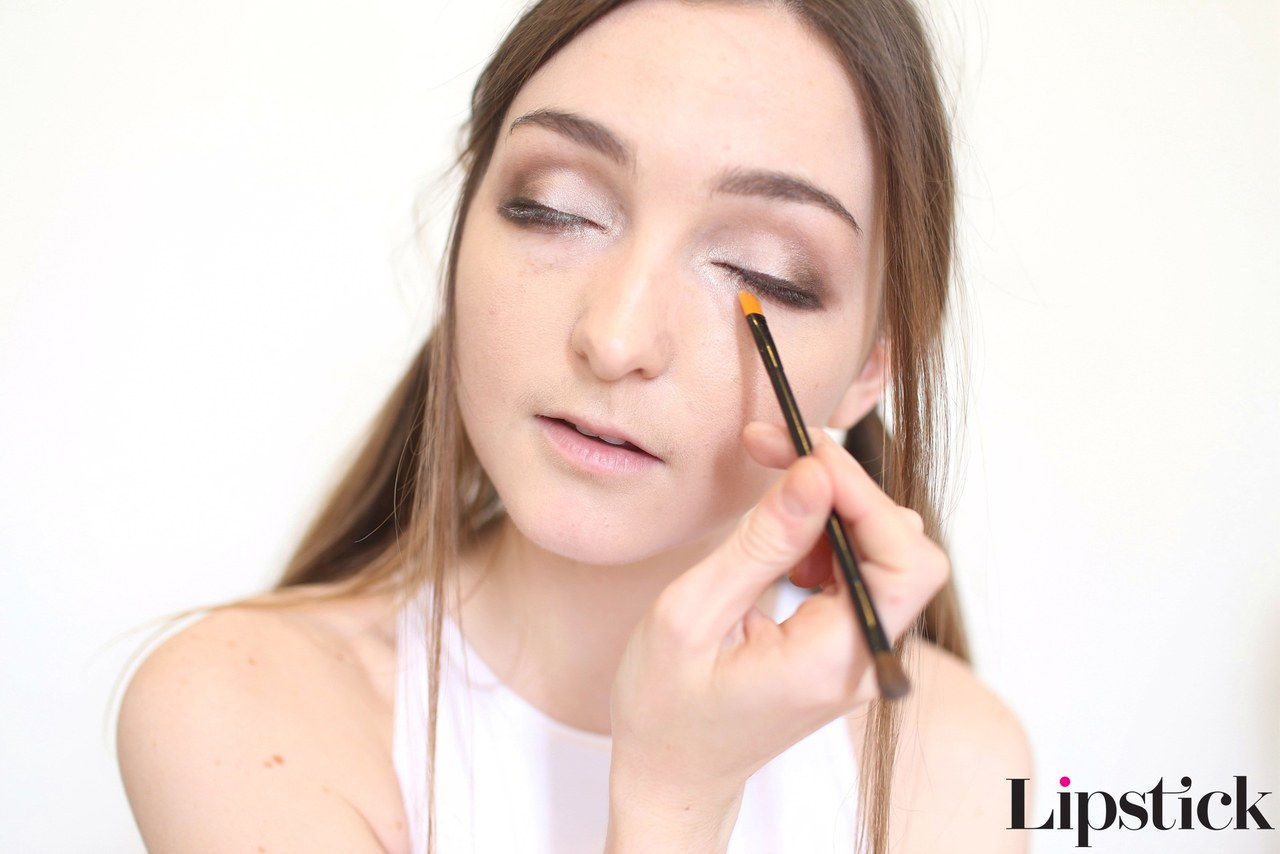
Step Five: Now using Smog, a medium, shimmery brown shade from the same palette, I emphasized the outer V’s of my eyes to make them look longer. I brought the shadow underneath my lower lash lines as well to add extra depth, and stopped at the center of my eyes. For this step, I found this tip particularly helpful from the Korean Beauty YouTube tutorial: “Never let the brown past the white part of your eyes.” Since this look really focus on the bottom outer corners of the eyes, it’s important to keep the inner eyes open and bright. So brown shadow too far in = a no-go.
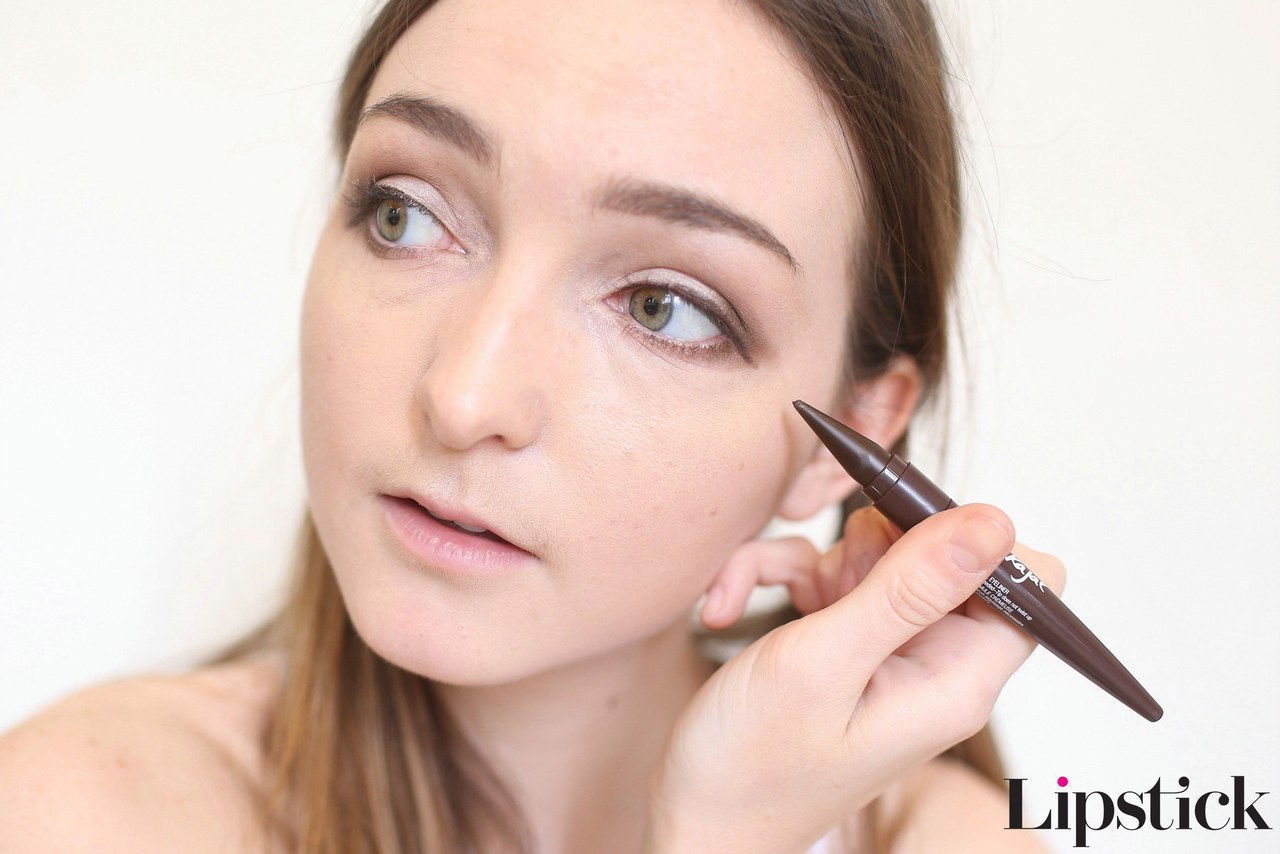
Step Six: On to the main event: the eyeliner. Using a creamy brown liner (here, Maybelline Master Kajal Liner) I tight-lined my upper waterlines by lifting up my lashes and carefully drawing on product. I find this to be a really subtle but effective way to define your eyes. Then, starting on the center of my lids right by the lashes, I drew a thin line downward following the natural slope of my eyes (resisting the instinct to wing it up!).
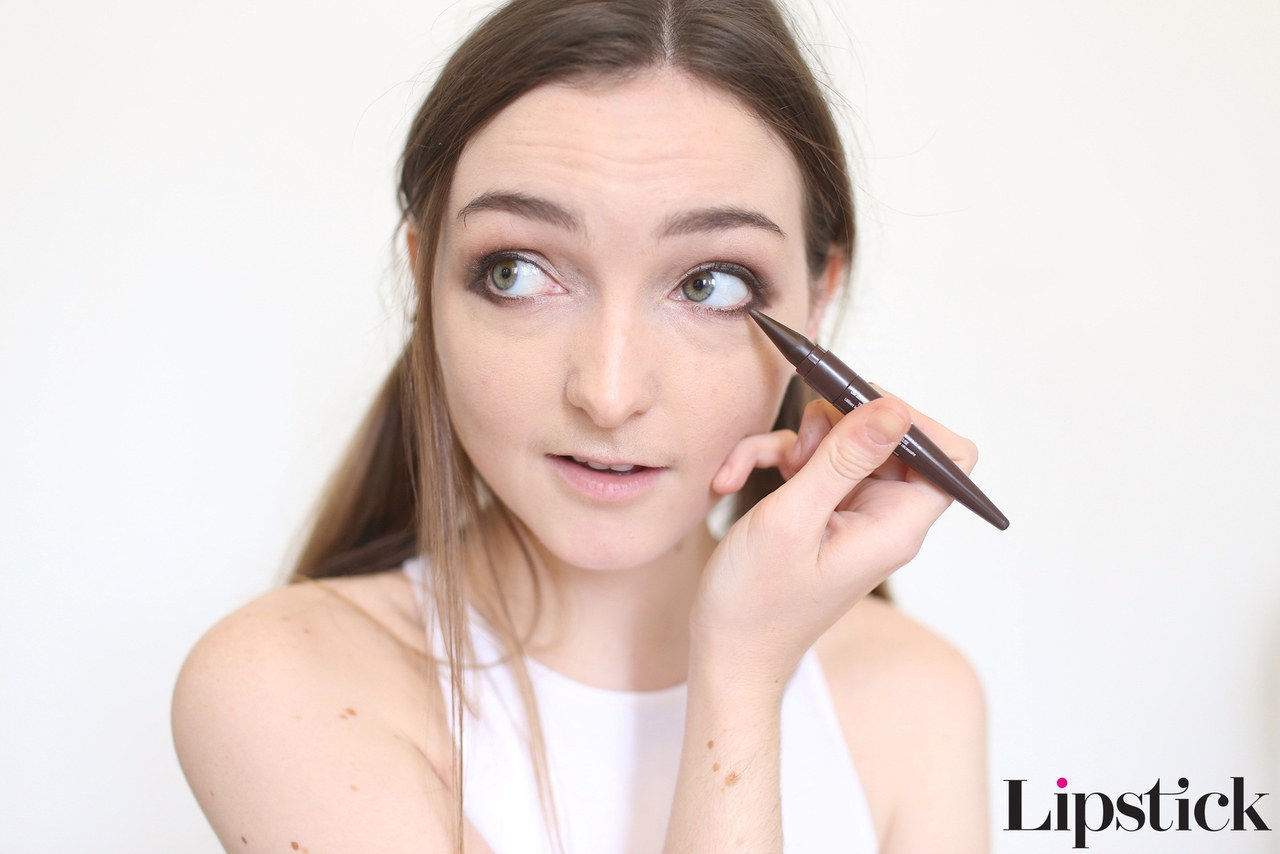
Step Seven: Next, I filled in the eyeliner toward the center of my eyes with the same brown pencil along my lower lashes. Once I drew it all in, I used a small brush to smooth out the edges. At this point I was feeling like it was definitely more bottom-heavy than I’m usually used to, but I was already starting to see my eyes look bigger, so kept on at it.
Step Eight: To make my eyes really pop, I highlighted just the inner corners with L’Oréal True Match Lumi Power Glow Illuminator in Ice, which I love for its silvery, cool-toned shimmer. When I want more of a warmer glow, I’ll go with a smooth gold highlighter pencil, like Marc Jacobs Highliner Gel Eye Crayon Eyeliner in In the Buff.
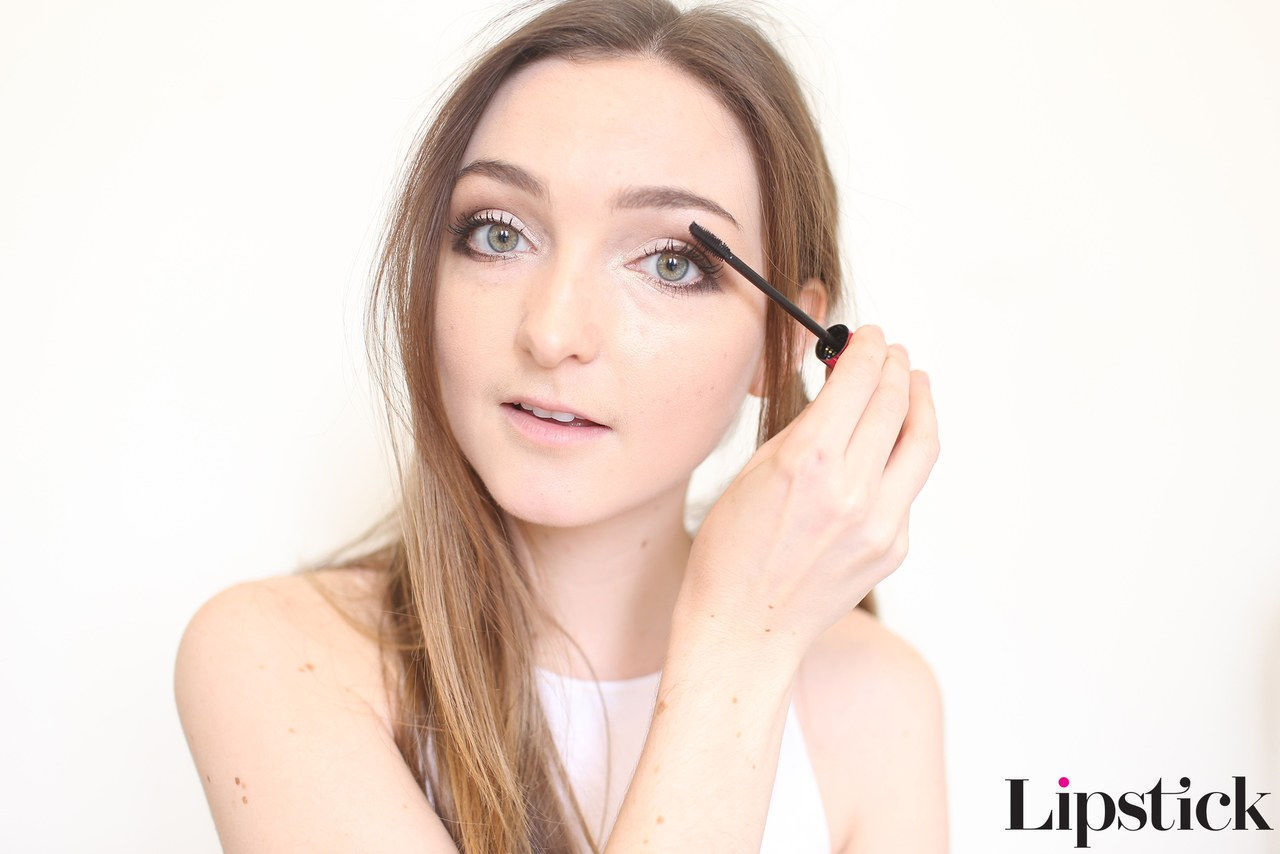
Step Nine: Lastly, I applied a few coats of mascara to really define my lashes and open up my eyes. I don’t like when my mascara clumps, so I made sure to take the time to slowly wiggle the wand upward as I put it on. It’s such an easy way to make your lashes look more defined.
THE FINAL RESULT
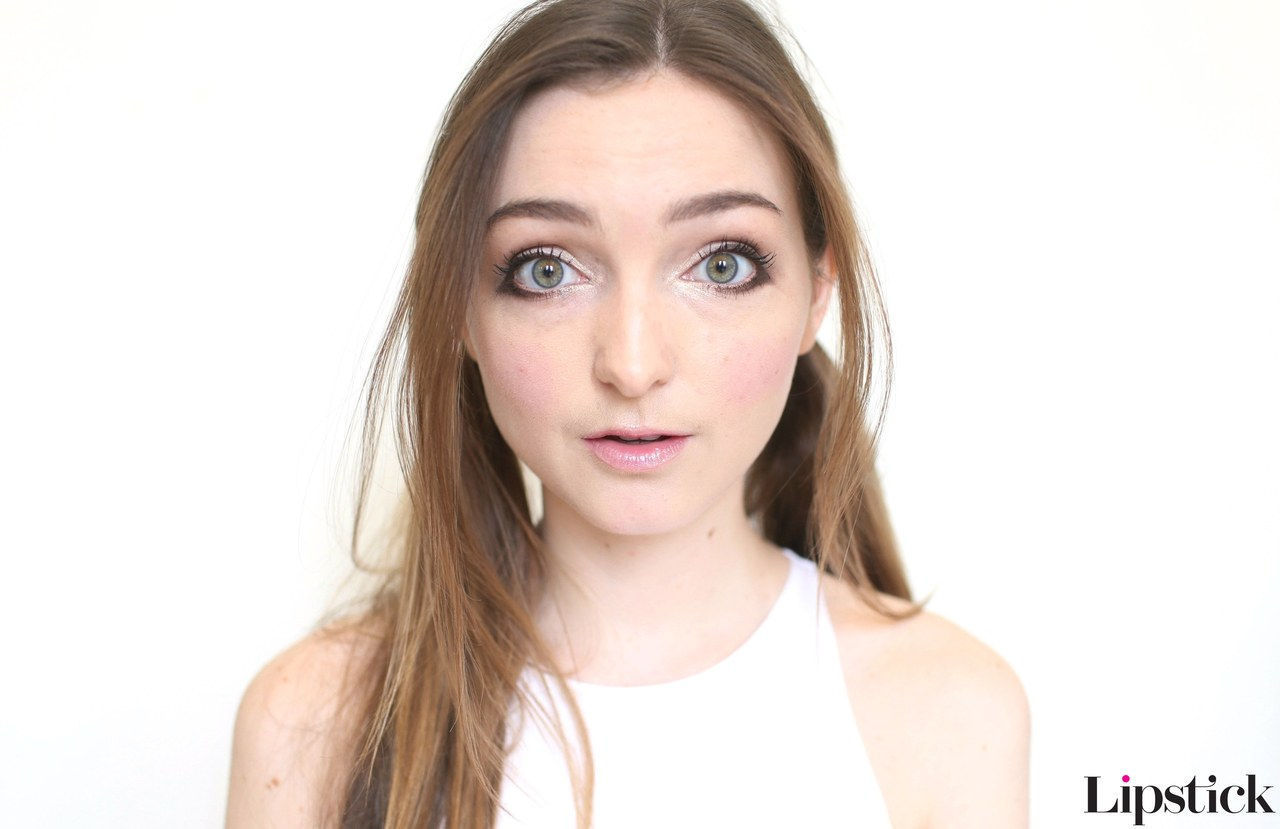
Big, smiley puppy-dog eyes.
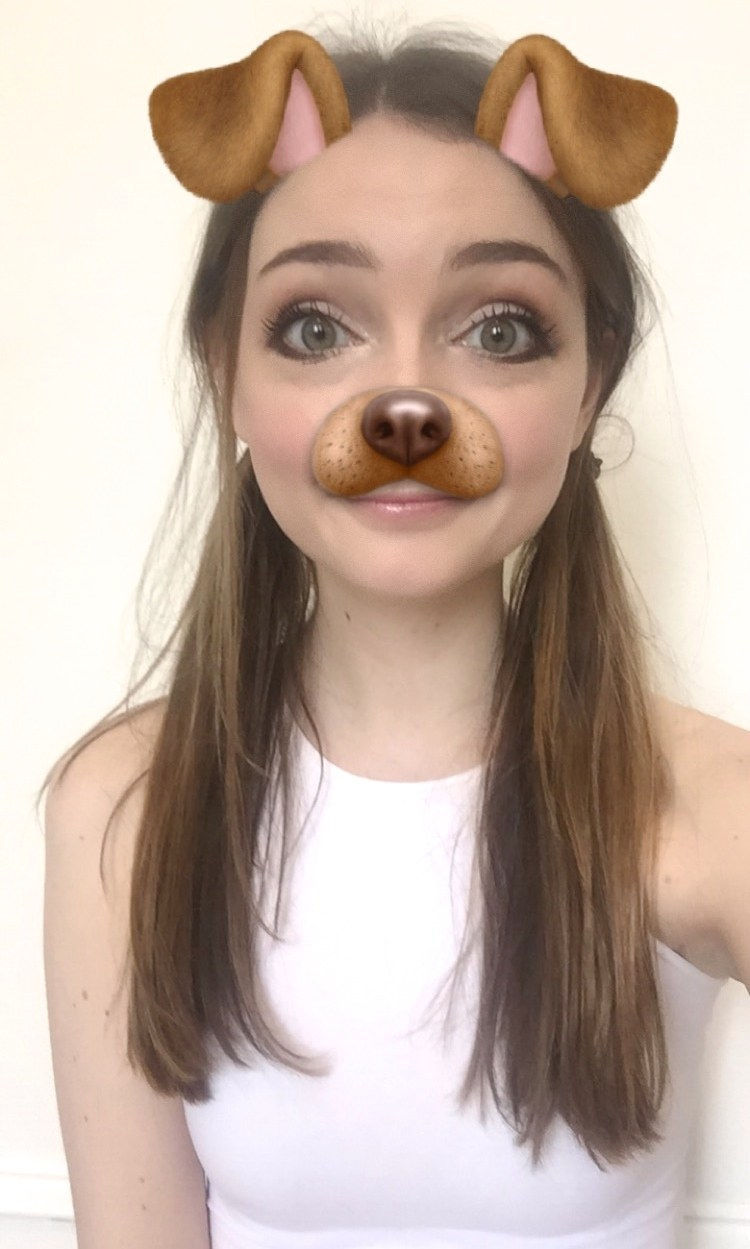
Jen’s Verdict: As someone who often tries (and fails!) to get the perfect cat eye, I found that following the natural downward slope of my eyes was—surprisingly—much easier to get a symmetrical finish. The smudging helped too because I didn’t have to worry about it looking so precise. I won’t lie, I definitely was worried at first that the bottom-heavy eyeliner would make my eyes look droopy, but lo, the look actually created more contrast with the whites of my eyes, so they ended up looking bigger and brighter overall (or so I think, what about you?). Next time I try this (which I have a feeling will be very soon!), I’m going to skip the eyeshadow steps and only apply eyeliner for a bit of a simpler version that still has the same effect. So, to anyone in New York City, don’t be surprised if you spot some girl on the train looking like a Snapchat filter.
Watch K-Beauty expert Charlotte Cho explain Korean Beauty trends: