

You’ve Been Putting On False Lashes All Wrong

No matter if you’ve got a wedding, a hot date, or just a random night of eyelash-fluttering on the menu, anytime is a good time for falsies as far as we’re concerned. But we know getting glue near your eye can be intimidating. So we called up Benefit Cosmetics makeup artist Deanna Tharp to find out exactly how to place faux ones like a seasoned pro. So gather your supplies and choose your own adventure. Want drama? An all-the-way-across strip lash is your answer. For subtle glamour (or those very, very intimidated), singles are your friends. Either way you can do it. We believe in you.
Your Tool Kit:
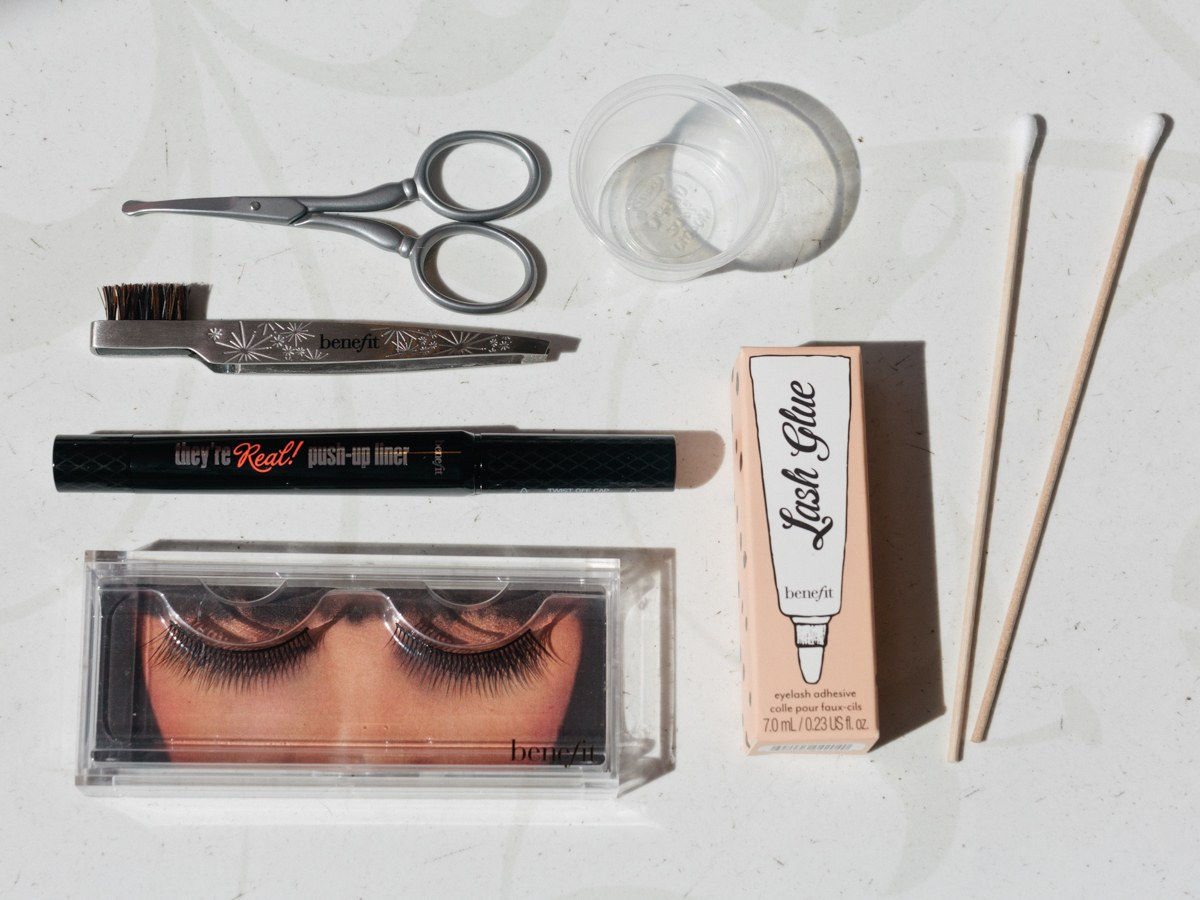
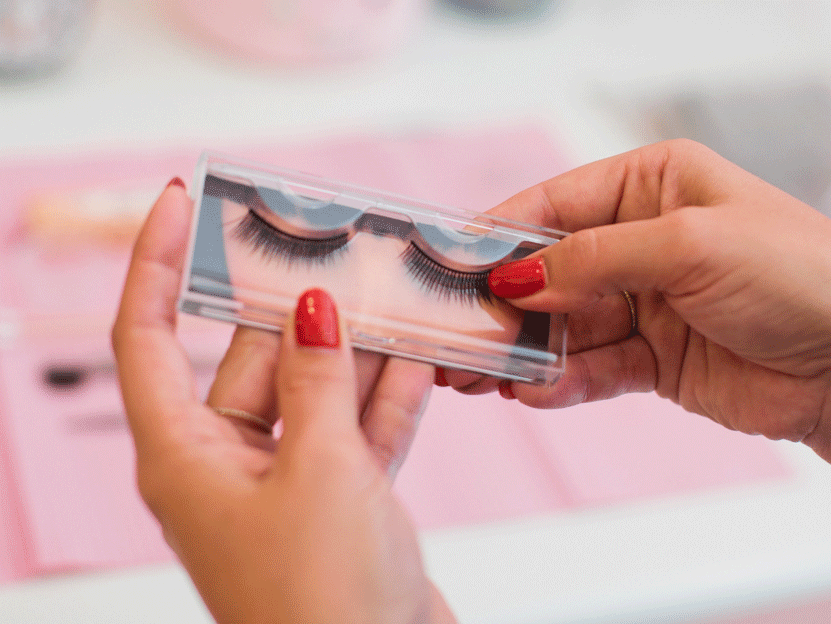
Once you’ve chosen your lashes of choice (the ones shown above: Benefit Debutante Lash and Going Solo Lashes, both $15), you’ll also need some glue (we used Benefit Lash Glue, $8, but the classic ol’ drugstore Duo will work just fine), a black eyeliner, tweezers, a pair of scissors, and cotton swabs. For individuals, you’ll need a small cup to hold the glue (psst…this is a great time to repurpose those dressing cups from the salad bar!).
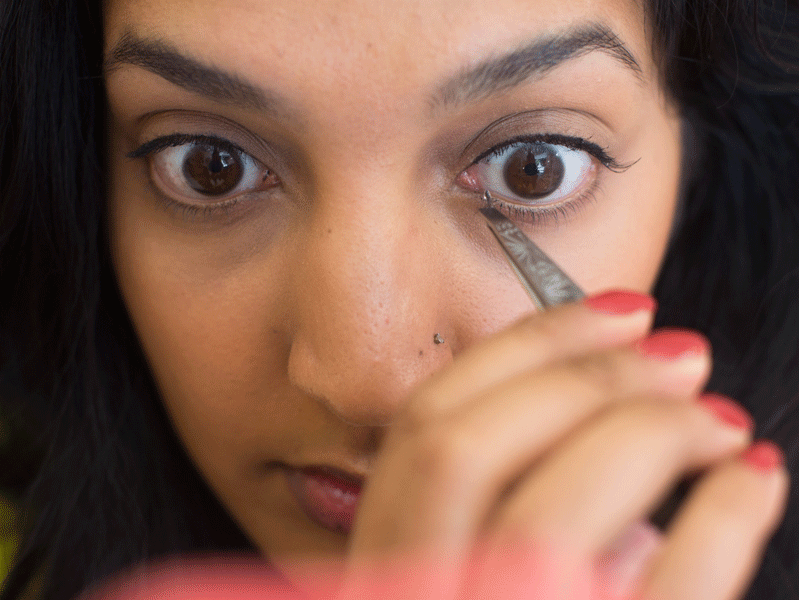
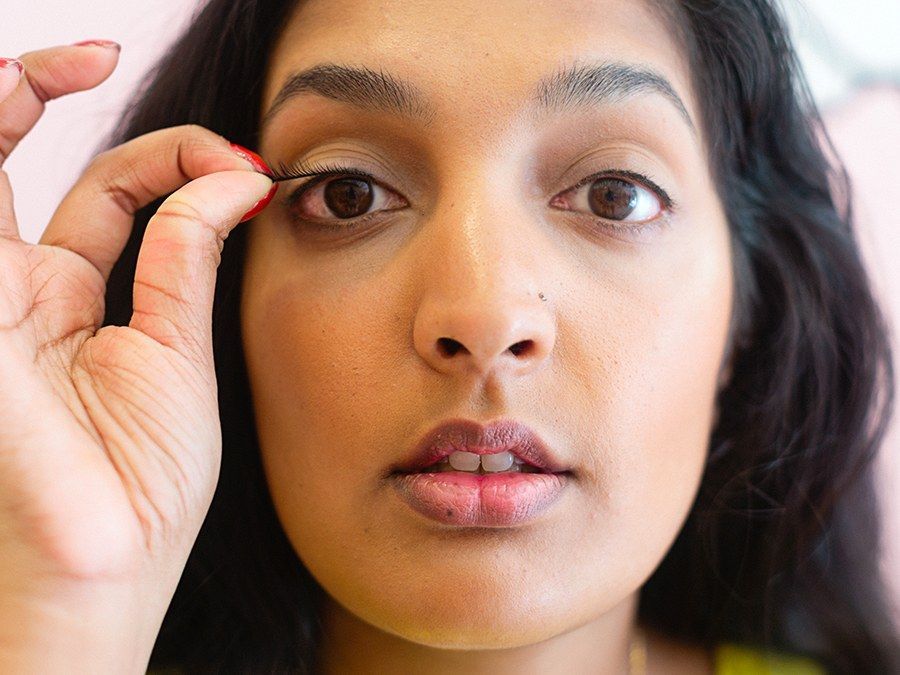
Before you start, line your upper lash line with black eyeliner (this will hide the base of the falsies) and then get to work!
For Individual Eyelashes:
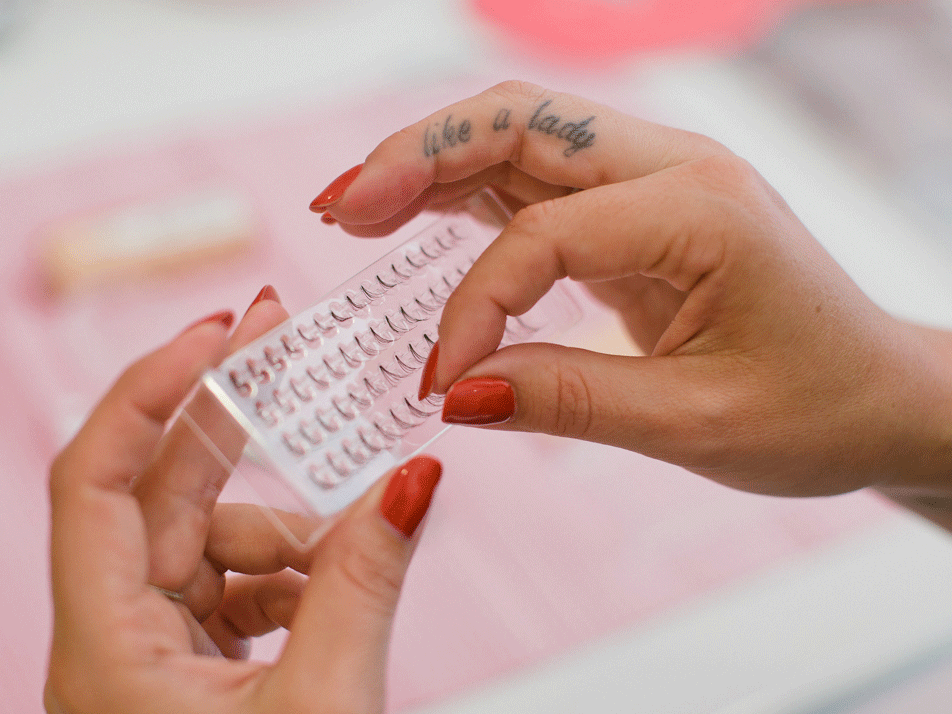
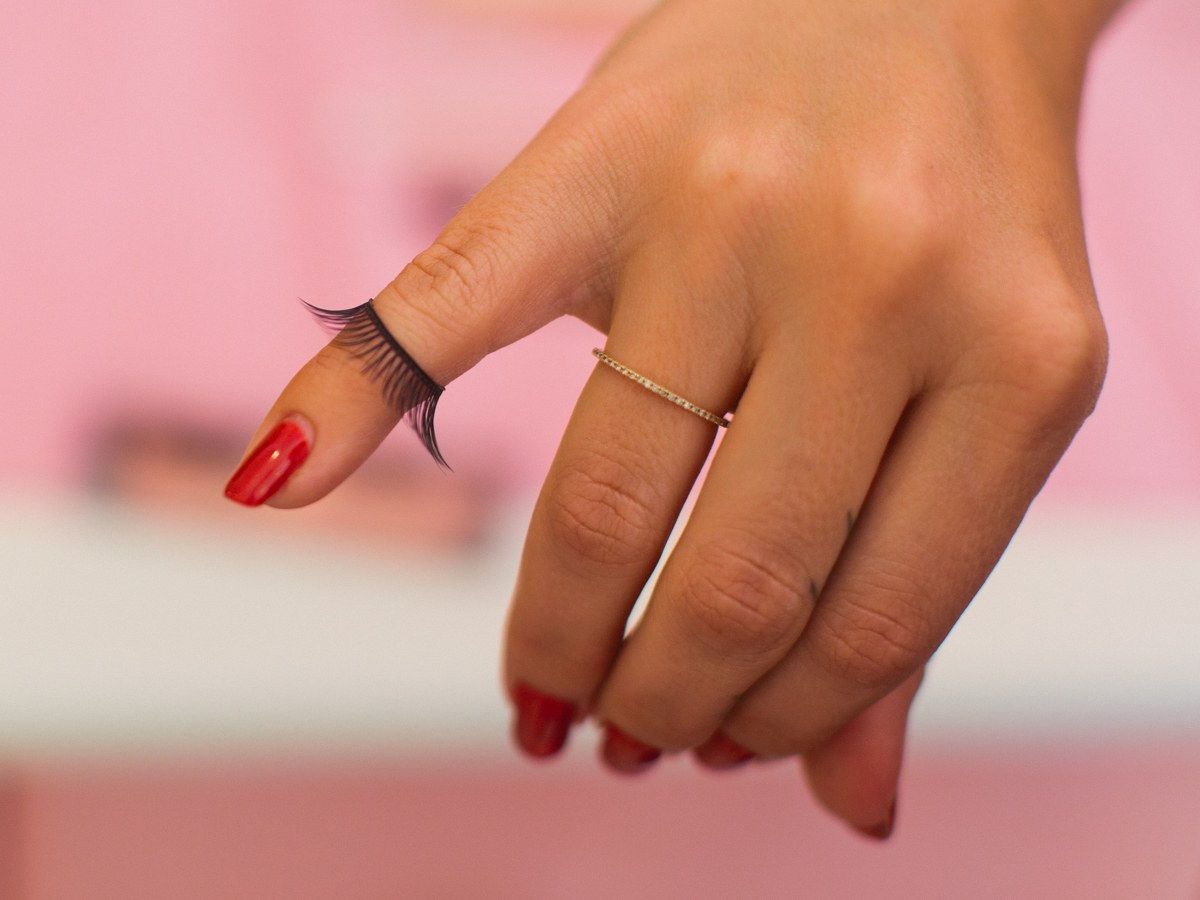
Step 1: Gently pull the lash off the packaging with your fingers—not the tweezers. Tharp explains that you might need a little force here, and a tweezer’s grip is strong, so it can bend the lashes. Once you’ve freed the cluster, stick it on the back of your hand so you can grab your tweezers.
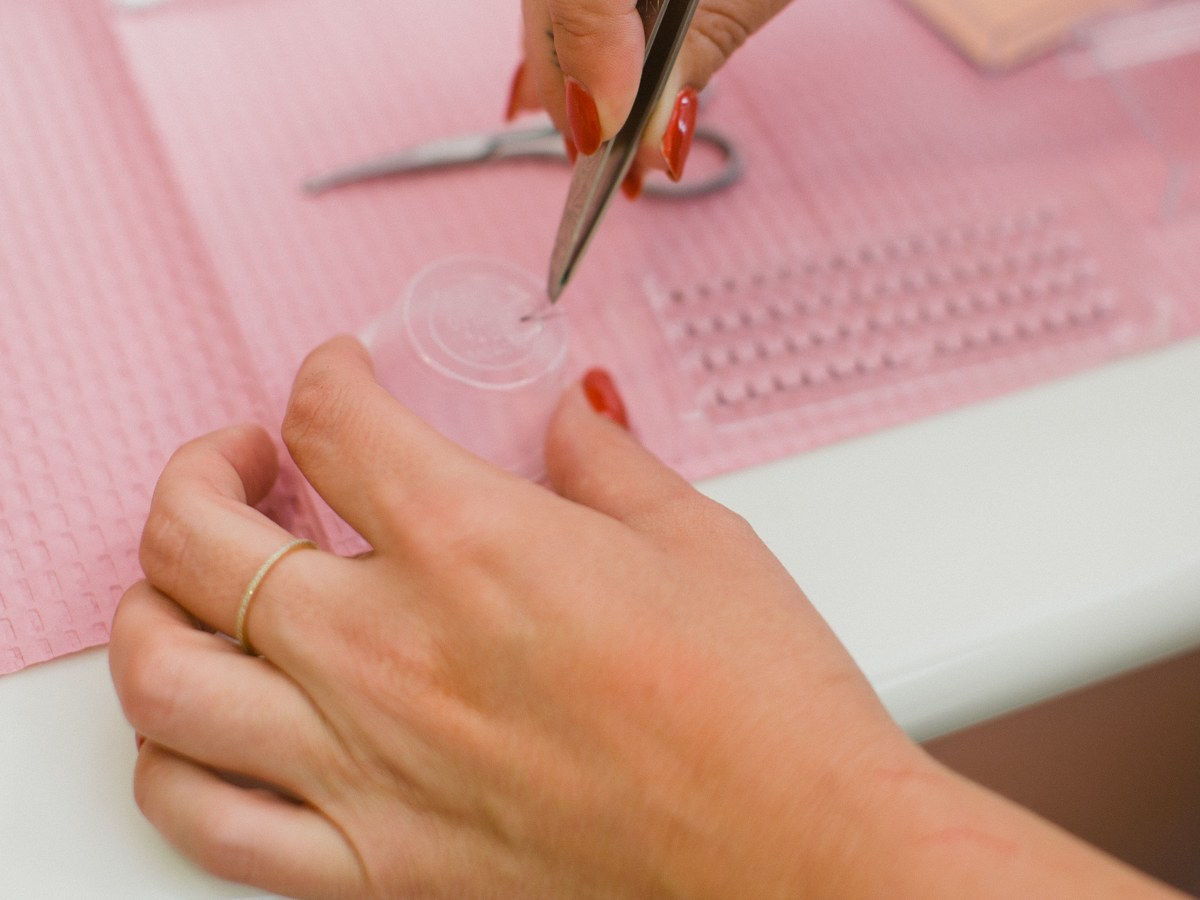
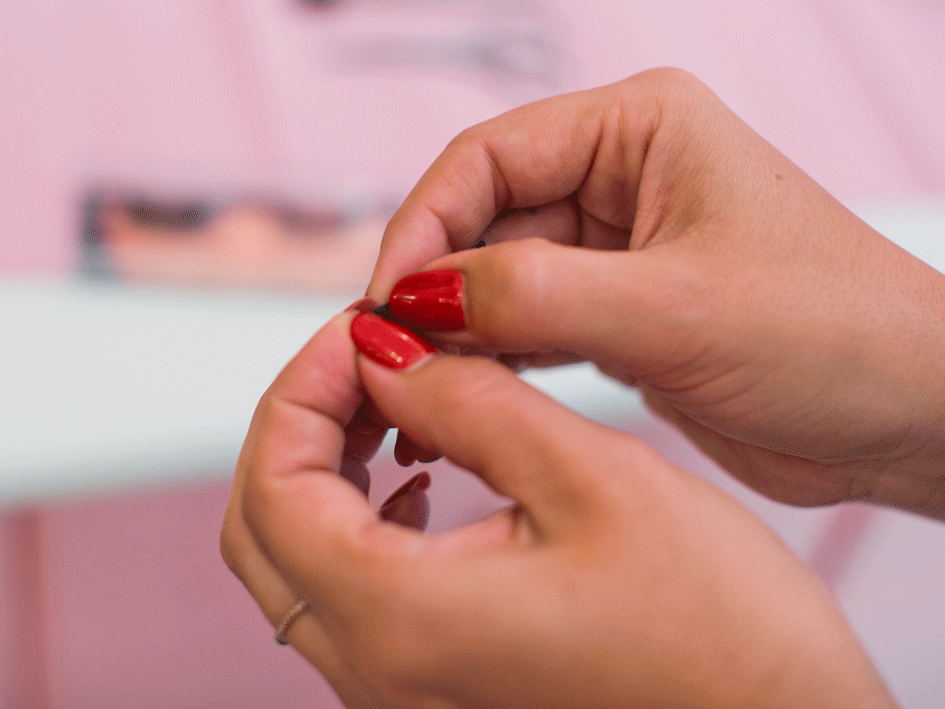
Step 2: Using tweezers, dip the base in the glue. Wait a few seconds for the glue to get a bit tacky, but, warns Tharp, “Don’t blow on it—you don’t want the germs from your mouth to get anywhere near your eye!”
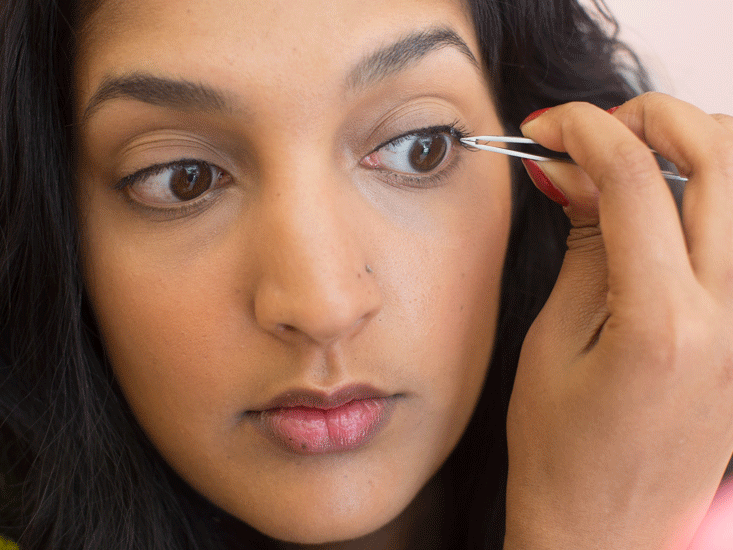
Step 3: Place a lash cluster on the outer edge of your eye.
Step 4: Follow up by placing lash bundles in the middle and inner corners. Then decide if you need more lashes in between the sets you’ve placed. Clusters are great that way—you can add as many or as few as you like!

For Strip Eyelashes:
Step 1: Roll the band down to loosen the glue—Tharp says if you pull it straight off, you risk damaging the “hairs.”
Step 2: Wrap the strand around your finger to soften the spine.
Step 2B: This is optional, but if the spine is really stiff, run it through your fingernails like a ribbon to give it bend.
Step 3: Measure the strand against your eye. If there’s any overhang, take note of how many lashes too long the strand is.
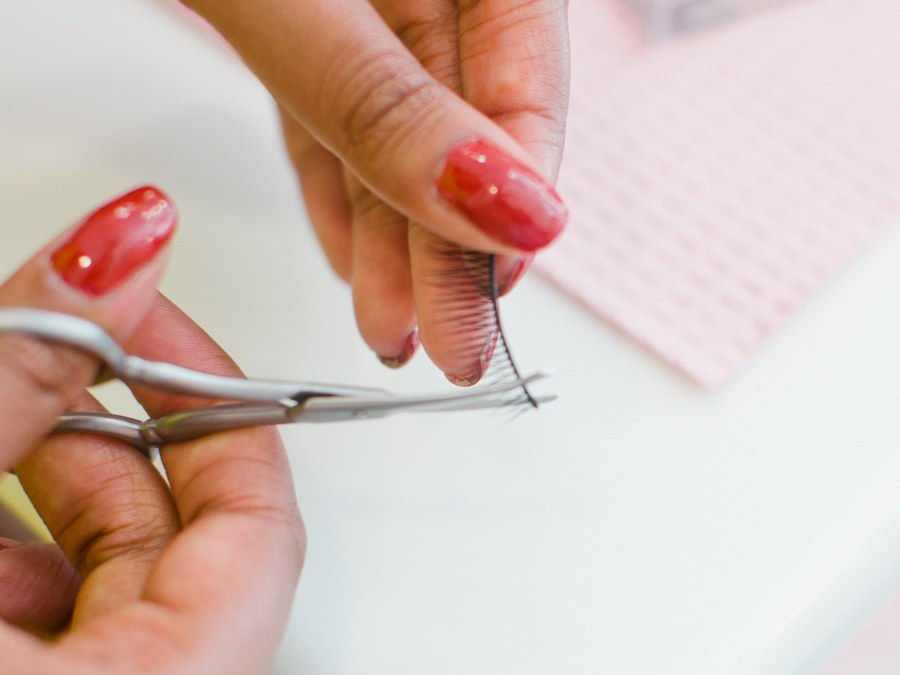
Step 4: Cut the band from the inside—not the outside! That way you don’t lose any volume.
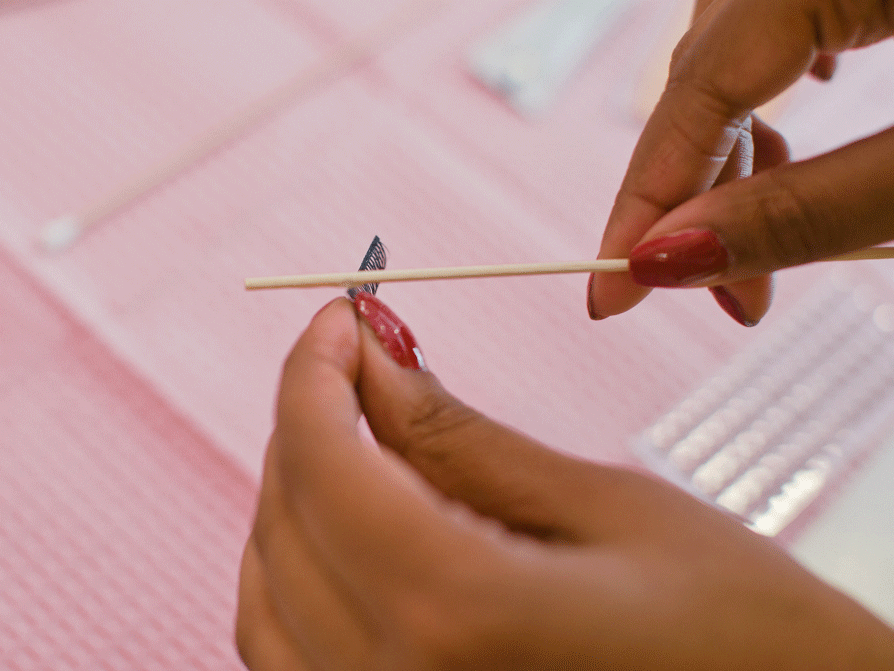
Step 5: Apply glue with a cotton swab. Wait a few seconds to let the glue get tacky on the lash. And remember: No blowing!

Step 6: Using tweezers, place the middle of the strip in the center of your eye.

Step 7: Nudge the outer and inner corners down along your lashline.
All done!

If, at the end of it all after some practice, you’re still having trouble getting a full strip on (no worries; they’re tricky!), this brilliant lash strip hack also works wonders.
Watch 6 Korean Beauty Products Every Woman Needs in Her Makeup Bag: